By: Dale Karch and Todd Smith
Fill in the gaps in your archery gear with some essential archery accessories.
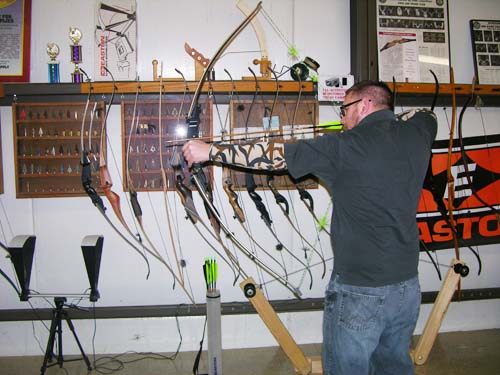
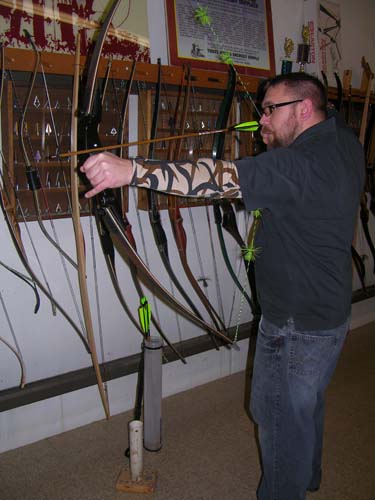
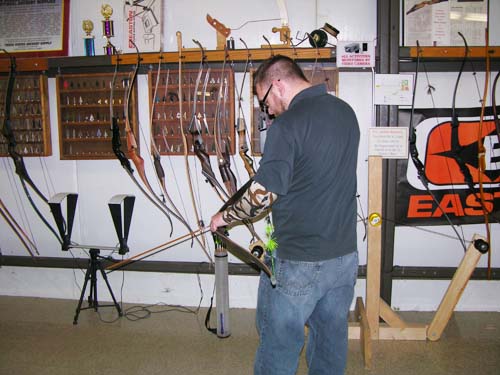
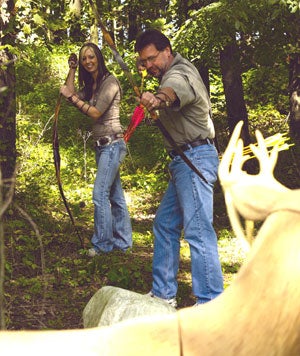
Who can resist the beautiful woods and graceful lines of a fine custom recurve or longbow? Or, how about handcrafted, all-leather back quivers filled with stunning wooden arrows? These are the items that normally get all the press. Magazines are filled with them. These eye-candy items literally jump off a page and scream, “Look at me!” “Read this!” There’s a good reason for that. People like reading about traditional equipment. They look at the pictures and dream of owning such classic gear. But it doesn’t matter how much top quality, beautiful, custom traditional archery equipment you have. To get the most out of your archery gear, you have to have the proper archery accessories to back them up! The small items like string silencers, string keepers, and bow tip protectors. Traditional bow accessories are available in many versions, styles, and types. Today we’ll share with you the accessory items we feel will best enhance your traditional archery experience.
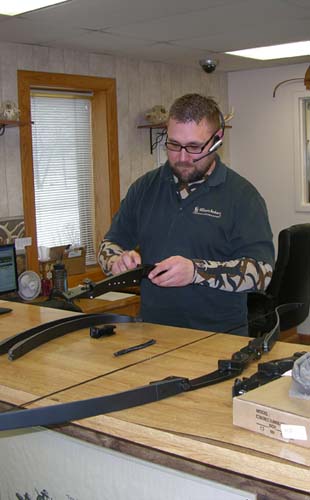
Traditional archery accessories fall into several categories. The two main categories we’ll cover today are archery accessories for your bow, and archery accessories for your bow string. Archery accessories for your bow include: bow grip materials, arrow rests & plates, arrow holders, bow tip protectors, string keepers, vibration dampeners, bow stringers, and camo bow socks.
For the bow string it’s: string silencers, brush buttons, string wax, and a unique little tool called the string separator.
The selection of bow grip materials is varied but the top sellers are the “Shur-Grip” and the adhesive-backed leather grips. The Shur-Grip is a seamless rubber tube that rolls onto your longbow (and some recurves) and stretches to fit the curves of the grip like a skin-tight glove. These grips offer a solid non-slip positioning in the hand, they’re impervious to water or snow, they’re easy to install, and they’re reasonably priced.
Tip: A trick to installing these on recurves with a little more mass on the riser is to roll them up like a doughnut and over a short piece of parachute cord. Then when you get to the largest section of the riser, you can use the rope like a flexible lever and force the Shur-Grip up and over the largest section of the riser.
These grips have a universal appeal and you’ll see them on bows being shot by both the new modern-traditionalist and the older classic-traditionalist.
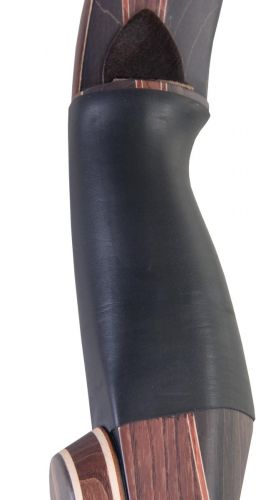
The Shur-Grip bow grip is easy to install and is reasonably priced.
Next in line is the adhesive-backed suede bow wraps. This one appeals more to the classic-traditionalist but its versatility makes it popular with all archers. Not only can you use this item as a bow grip material, but you can use the scrap for arrow rests and plates. To install the adhesive-backed grip, start by the bow shelf and slowly wrap the leather bow wrap around your bow grip leaving about 1/2 an inch showing of the wrap as you go down. You can trim to fit your grip, so no need to use all of it if you do not need it.
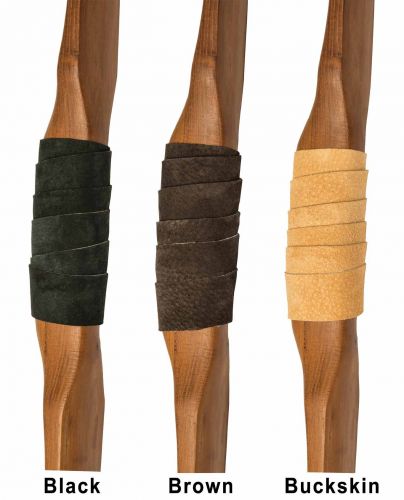
The adhesive-backed leather wrap bow grips are not only great bow grip material, but the scraps can be used for rests and plates.
When it comes to arrow rests and arrow plates the selection is vast. To clarify, the rug rest is a pad that is installed on the arrow shelf, the little ledge on the side of a longbow or recurve where the arrow rests. The “arrow plate” is installed on the side of the sight window, right where the arrow rubs against it during the shot sequence.
The selection of arrow rests and arrow plates is vast.
Not many classic longbow and recurve shooters shoot elevated rests anymore. However, there is one worth mentioning, the Super T-300 Flipper Rest. It does enjoy a loyal following, and can be used on any longbow or recurve bow and even on some compound bows, but the majority of traditional shooters use rests and plates of rug, calf hair, or leather materials.
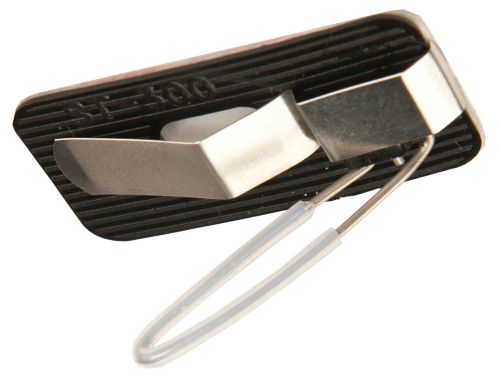
Not many classic-traditional shooters use elevated rests, but the Super T-300 enjoys a loyal following.
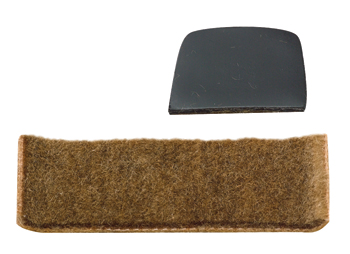
The Calf Hair Rest and Plate is one of our all-time bestsellers in this category. It is adhesive-backed for easy installation. You simply trim for a rest and use the leftover amount to be the plate, then peel off the backing and stick the rest and plate where you want it. For trimming the rest, set it on the shelf, draw the shape of the shelf edge on the bottom, then trim to fit before the peel and stick process. Tip: Wipe the shelf and plate area and with a solvent like rubbing alcohol or paint thinner and let it dry before applying the side plate or rest.
The Calf Hair Rest & Plate is one of our all-time bestsellers.
One package deal that has been a strong seller for over 20 years is the Bear Hair Rest & Plate. This set, from Bear Archery, offers the same rug rest and leather side plate combo that comes standard on all Fred Bear recurve bows.
Bear Archery offers the very popular Bear Arrow Rest & Plate,
which comes standard with all Bear Recurve bows.
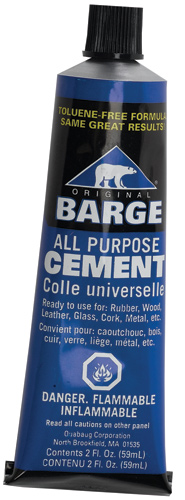
There are a couple exotic combo shelf and rest materials that you trim to fit. There’s Calf Hair Rest & Plate Material and a Clipped Beaver Hair Rest & Plate Material. The Beaver Fur is very durable, slick, quiet, and attractive. With Rest & Plate Material you get a square you cut to whatever shapes you like then glue it on with a contact cement like Barge Cement (if not adhesive backed). The Calf Hair is adhesive backed so you simply peel and stick once you’ve trimmed it to shape.
Use arrow rest material for cutting several arrow rests and plates from one piece in any shape you like.
Arrow holders are popular with both compound and traditional shooters. The best is the Kwik-Lok arrow holder. It’s adhesive backed for quick installation, cut out for a plunger, and the rubber used in them is silent and supple, even in frigid temps. It’s the perfect accessory for tree stand bowhunters who either hang their bows from a hook, or stand and hold their bow for hours. The arrow holder eliminates the bowhunter having to keep their index finger hooked over the arrow all the time. Which is especially advantageous in the cold.
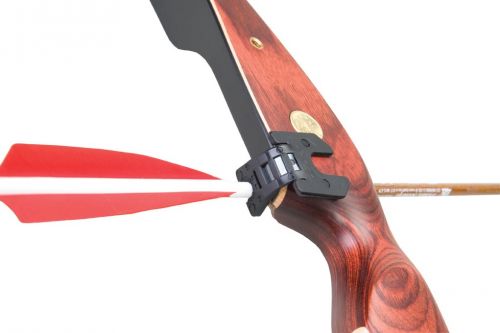
The Kwik-Lok arrow holder is ideal for the tree stand hunter who holds his bow for hours.
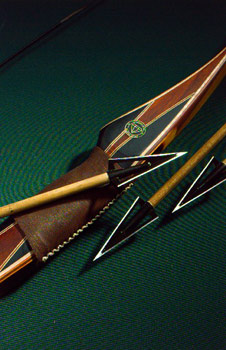
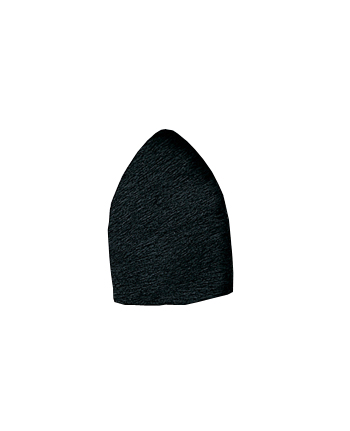
Many of us traditional bow shooters like to lean on our bows. When we do this, the lower limb tip takes a beating unless it’s protected. That’s why bow tip protectors are “must have” bow accessories. They’re available in leather as well as plastic and rubber models. The leather kind is novel and attractive, but the plastic and rubber kind are the top sellers. The basic, Rubber Tip Protector is available in three colors, brown, green, and tan. They slide on the lower limb tip easily and protect it from abrasion and moisture. The soft rubber stretches to fit either longbows or recurves and that makes them the most practical and universal tip protector available. Another side benefit of using tip protectors is they keep your bow string attached to the lower limb. Once you have your bow all tuned and your string just the right length, it’s problematic if the string comes off the lower limb tip and loses some twists. When that happens, you have to re-tune your bowstring and that’s a time consuming chore. Bow tip protectors hold that string in place. A bow tip protector should be on every longbow and recurve out there. They’re so low in cost and they serve such an important purpose, there’s no excuse for not having them.
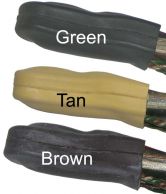
Bow tip protectors don’t just protect your bow tips, they also help to keep your bow string attached to the lower limb.
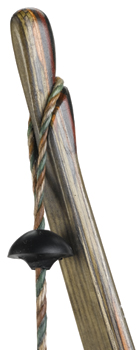
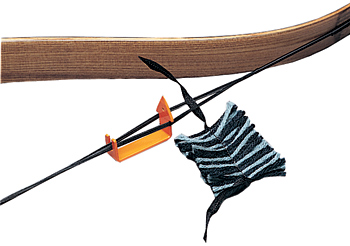
Speaking of keeping bowstrings in place, there is an accessory called a String Keeper. String Keepers slide over the upper limb tip. They utilize an adjustable hook system that hooks on the upper loop of the bow string and keeps it near the upper tip for easy access. This is especially handy if you store your bow in a soft bow sock style bow case. Without fail, when you pull your bow from a bow sock bow case, the string will have moved well down the limb and away from the tip. This isn’t the end of the world, but it makes the stringing process a bit more tedious. The string keepers eliminate that problem and most of them are attractive to boot.
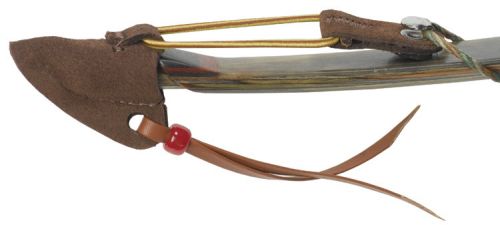
String Keepers (such as this one manufactured by Neet) keep the upper loop of the bow string near the upper tip.
Most compound shooters are quite familiar with dampening vibration in their set-ups. Normally longbows and recurves are pretty immune to this, but occasionally a traditional archer will find they have a situation where a little dampening would really help. They now have a choice. The traditional Mini Limbsavers looks like a black flat-topped mushroom, has an adhesive back, and is easily attached to the limbs. Stiktamers mount close to the bow tips and offer vibration dampening and are good for keeping brush from getting caught in your tips and great as a cushion if you hang your recurve bow on a peg.

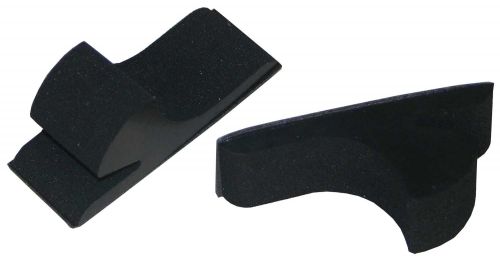
The Mini Limbsavers and Stiktamer are two options for dampening vibration.
How can you talk about bow accessories without mentioning bow stringers? This is another area where the selection is large, but the top sellers are so far ahead of the next in line that the choice is clear. The winners in this category are the Selway longbow stringer and Selway recurve stringer. We market them as simply, “the best bow stringers available.” They’re all you’ll need.
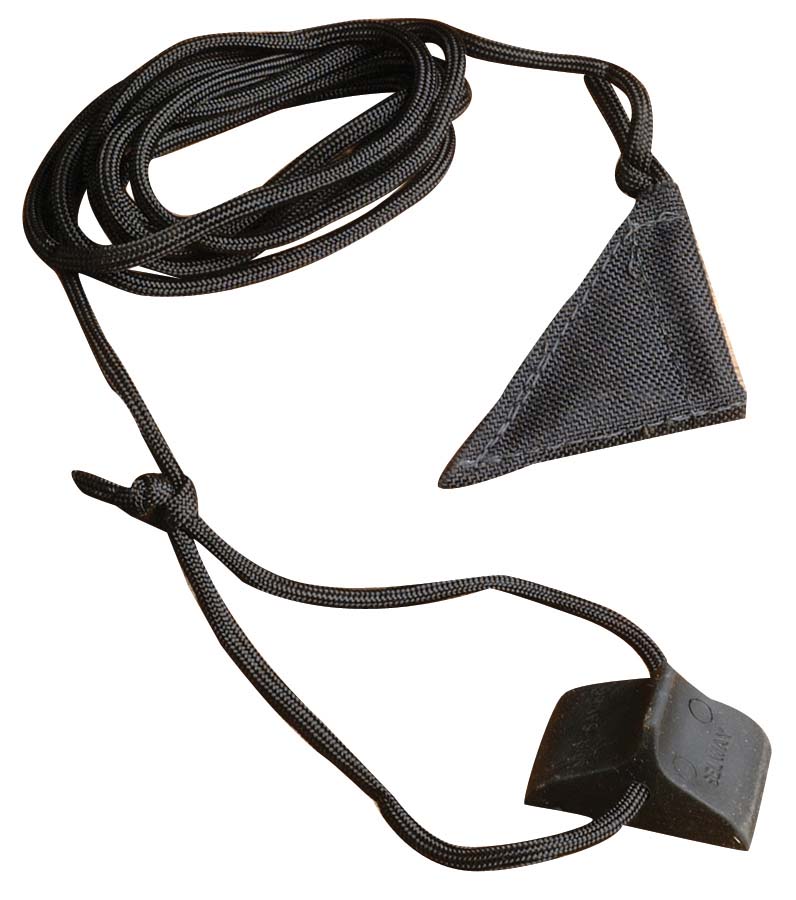
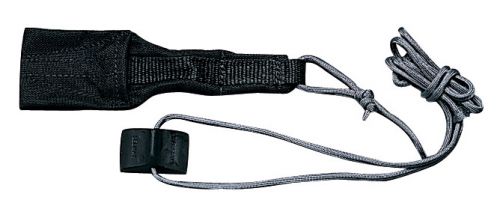
Selway Archery offers top-of-the-line longbow and recurve stringers.
Most of the longbows and recurves on the market today look more like works of art than the deadly tools they really are. Most fine custom bows use clear fiberglass on the limb facings so the warm hues of the natural wood used in the core can be seen and appreciated. When bow hunters take to the woods though, they need concealment. Their gear must blend in with the patterns of their surroundings. Camo bow sock are the answer. They’re available in different patterns for different situations. These socks eliminate the glare and hide the lines of the bows from all game.
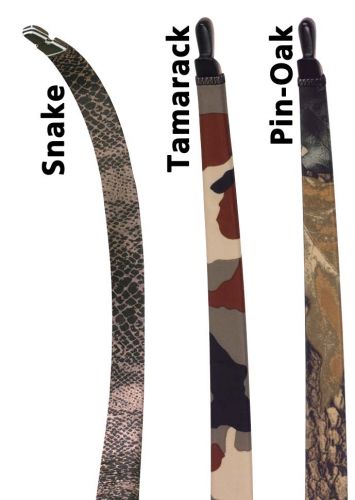
Bow Socks come in a variety of patterns for different situations.
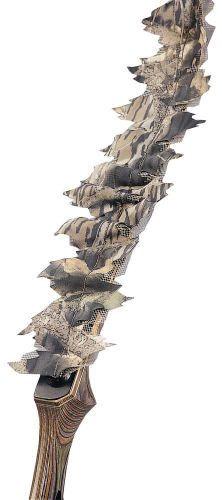
Lemkover Leaves are a very effective 3-D camo for your bow.
A unique bow accessory worth special mention is the calf-hair string groove silencer. These silencers are pre-cut adhesive-backed calf-hair strips that are installed on recurve bows just where the string meets the bow at brace height. Their benefits are two-fold. Many traditional shooters use Flemish strings and these strings often have quite a bit of string wax on them. This can cause unwanted noise during the draw. You should always remove and burnish away excess string wax from your string, but since the string groove on a recurve bow is especially prone to this noise it’s a good idea to use the string groove silencers. They also help with what is called “string slap”. Some recurve bows are equipped with what we call “double loop” or “endless” strings. These strings have their loops formed by wrapping them with string serving material. This forms a long, hard, and somewhat noisy section of string that slaps the limb upon release of the arrow. These string groove silencers dramatically dampen that string slap, which is especially important to bowhunters.
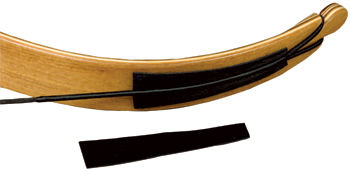
String Groove Silencers help reduce string
slap and unwanted noise during the draw.
There are many kinds of string silencers. Many compound shooters are familiar with the rubber “Cat-Whiskers” and “Kwikee” string silencers.
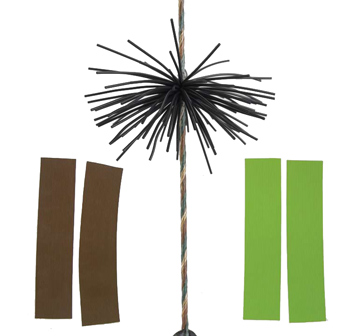
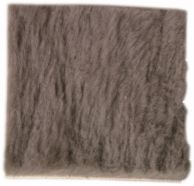
Still, most traditionalists favor the look and performance of natural silencers whether they are wool or fur. Wool string silencers like the “Wooly Whispers” (sheep wool), and “Quiet Wool” (llama wool) string silencers are fantastic at dampening string vibration and they remain remarkably dry in wet conditions.
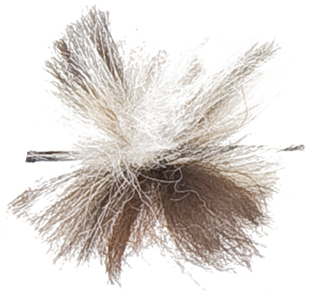
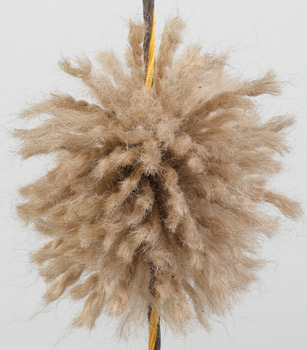
Wool string silencers not only dampen string
vibration, but also remain dry in wet conditions.
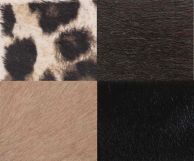
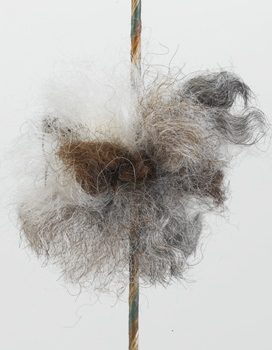
Fur silencers are available in nearly any fur you can imagine. We have limited the field to the best performing, best selling fur types and they are; beaver, otter, and muskrat. Beaver is the best selling. Otter is the best for dampening. And muskrat is the best for water repellency.
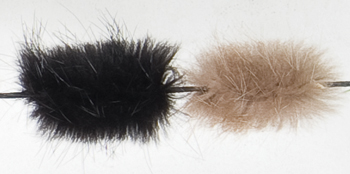
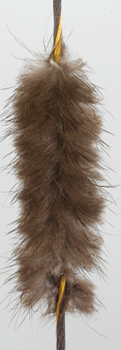
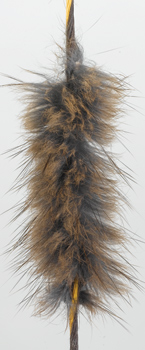
Beaver, Otter, and Muskrat fur each have
different strengths as string silencers.
Brush buttons are designed to keep debris from wedging between the string and the bow limb on recurve bows. They are available in two sizes, 11/16″ and 7/8″ and are a “must have” item on any string for a recurve bow. If you don’t already have these, get them right away!
Brush Buttons keep debris from wedging
between the string and limb on recurve bows.
String wax is not normally thought of as an accessory, but strings need to be routinely waxed to lengthen their lifespan. Here again there are many choices but a good parrifin based wax like Bohning’s “Tex-Tite” or a beeswax and rosin based “String Maker’s Wax” is best. When you start to notice small little fibers “fuzzing” on your bowstring it’s time to apply some wax. Rub the wax stick up and down on the string and even the serving. Then with a small piece of clean, soft leather, rub the string vigorously to heat the wax and burnish the string. The warm wax will penetrate the fibers and the leather will remove any excess. (Those scraps you saved from your leather bow grip material can be used for this.) Regularly waxing your strings will keep them in good shape for safe shooting.
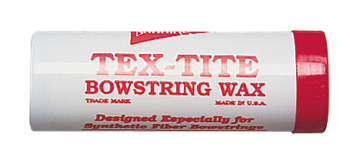
String wax lengthens the life of your bow string.
The string separator is an item all its own. This tool separates the strands of an endless string while your bow is strung so you can install the fur style string silencers described above without un-stringing your bow. Squeeze the tapered tip between the strands then twist the unit and “lock” the string in the groove. Now your string has an opening for you to start the first ½” of the fur silencer in. Remove the tool and the string closes on the silencer. Wrap the fur around the string now “barber pole” style till you have about ½” left. Insert the string separator again twist and insert the bottom end. Remove the separator and again the string clamps down on the silencer holding it in place. This is another accessory that is at home with both compound shooters and traditional shooters.
The String Separator creates an opening in your bow string so
you can install fur string silencers without unstringing your bow.
So, you have that picture perfect custom recurve! You have the hand-stitched leather back quiver! You even have the genuine wooden arrows with authentic turkey feather fletching! Now it’s time to fill in the blanks with the archery accessories that will make your traditional set-up complete! Never underestimate the little things… the details that can make the difference between a perfect shot, and a heartbreaking miss. Accessories can make or break your day in the woods or on the shooting range. Make a good selection of accessories part of your archery tacklebox.
Keep Hunting
Dale Karch & Todd Smith
For more information contact:
3Rivers Archery
PO Box 517
Ashley IN 46705
1-866-587-9501
[email protected]


.jpg "Welcome to the 3Rivers Archer's Den")


 With that in mind, I saw the chance to break back into the wood arrow building adventure that I used to love so dear. For arrow building supplies I started this project with
 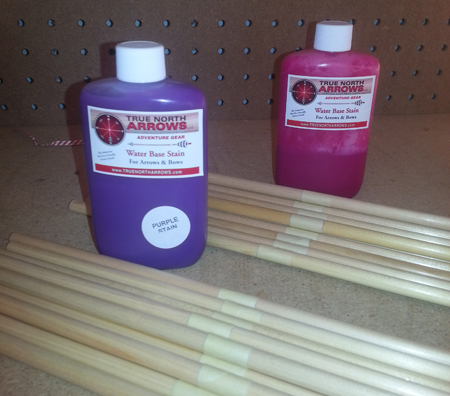 For my girls’ arrows I started by getting two bottles of
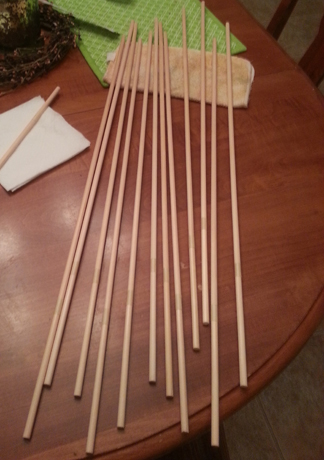 The shafts are
 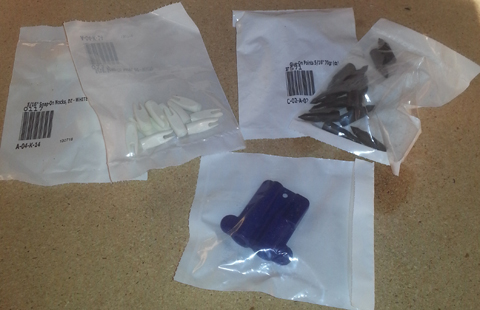 I chose
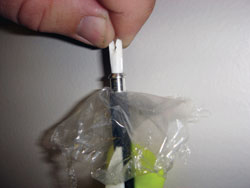
 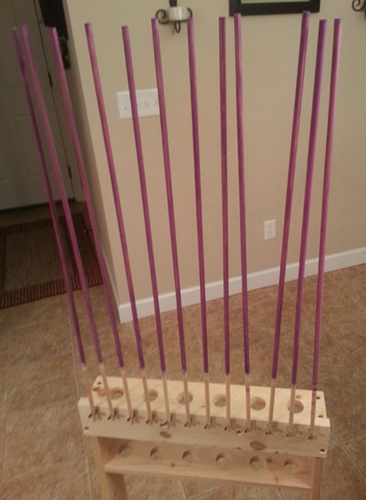 Additional arrow building tools needed were the
  I really wanted these arrows to stand out as custom and special for my girls. Knowing I would be staining the arrows I thought a cap dip, also known as a crown dip, would be a great choice. This is the process of having the nock side of the arrow shaft a different color than the rest of the arrow. Instead of doing another color I wanted the natural beauty of the Port Orford Cedar to shine from under the finish. This would also require cresting the arrows where the stain and unstained sections meet, but that is a fun project in itself. I used masking tape and taped off around the arrow shaft at 6″ down from the nock end. I normally do 10″ down when I built adult wood arrows with 5″ fletchings, so with 3″ I figured 6″ would look best.
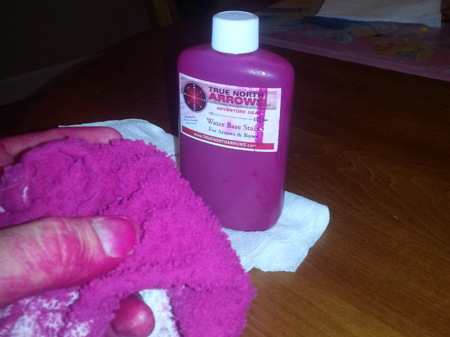 Once the arrow shafts were taped off I used a cotton cloth rag and poured some of the stain on the rag. I wiped the rag up and down the arrow shaft many times getting the stain the right brightness of color. It took about 30 to 40 minutes. I wanted bright arrows, not just a light pink, so I took extra time and extra stain. As a warning, staining arrows is messy, messy work. My hands were covered, and I got a bit on the table and floor, and even some on the crown dip of the arrow. The good news is that using a water-based stain I was able to clean up fast and easy. I used a clean cloth with some water to clean up the crown dip area I had accidently gotten stain on. You can also use light sandpaper if additional clean-up is needed.
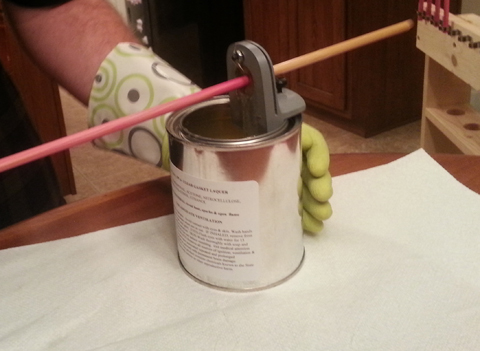
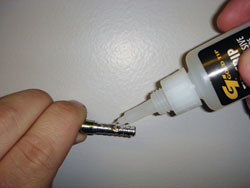
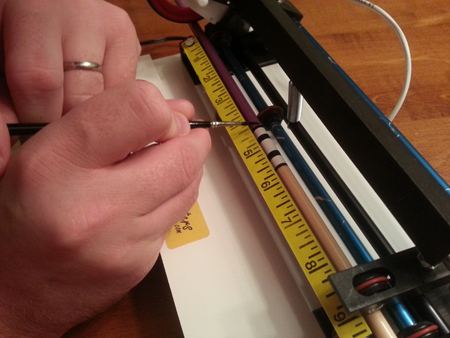 Since I did a crown dip (cap dip) I needed to crest the arrows. Cresting takes patience and a steady hand. Something I have more of one than the other. I found using the
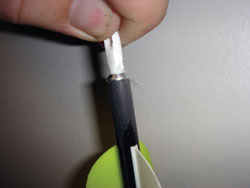
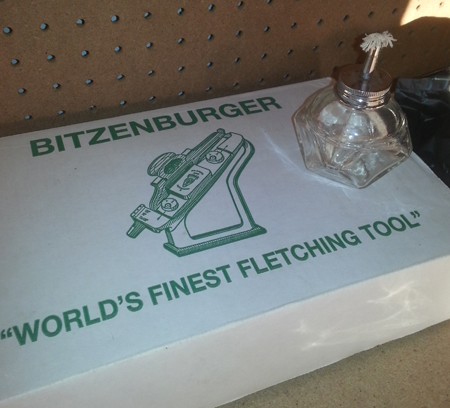
 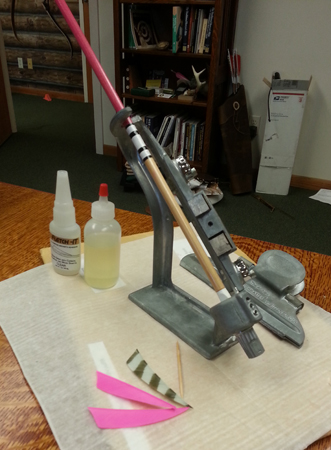 For fletching the arrows I use the Bitzenburger fletching jig as I find it is solid and dependable. They are easy to adjust to any arrow size and fletching. I used the Fletch-It Archer’s Adhesive to glue the feathers in place in a standard 3-fletch spacing of 120 degrees apart. I went half an inch up from the base of the nock for proper finger clearance when shooting. I put a drop of glue on both ends of each fletching for a more secure hold and better look.