Primitive Archery really takes Archery back to the basics by adding Stone to the Traditional “Stick & String” equation.
The needs of the primitive archer are simple. They work with simple hand tools making primitive bows, primitive arrows, stone arrowheads, and the like.
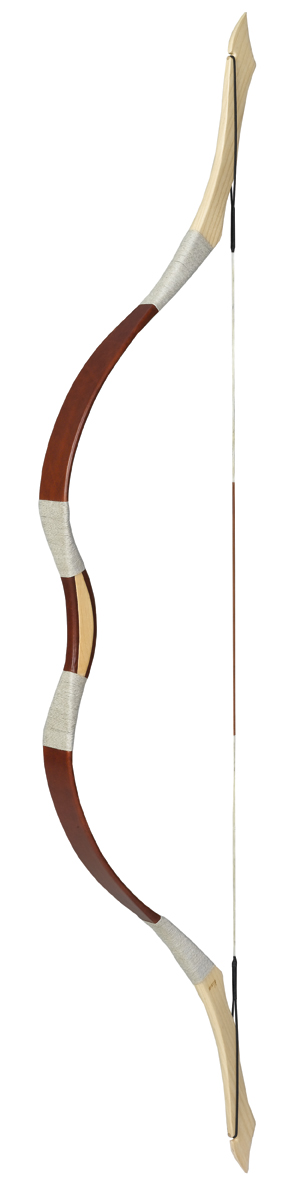
When it comes to bows, there’s a gray line between primitive and traditional. Most folks agree that if a bow has no fiberglass, it’s a primitive bow. “Primitive,” in this case, has nothing to do with performance. It’s a category. We clarify this because we have seen some all-wood bows that could nearly outperform some fiberglass-backed bows. The bamboo backed Osage bows made today can be incredible performers, and let’s not forget the Hun-style horse bows, those marvels of engineering that were casting arrows over 900 yards hundreds of years ago.
Although they’re often called “Primitive,” many bows designed centuries ago, perform as well or better than modern bows.
For the bulk of the folks interested in primitive archery, it’s an answer to an internal call. Something deep inside that says, “This is the way my ancestors lived and I want to immerse myself in it.” Let’s face it, the more effort you put into something, the higher the return of personal satisfaction as well as pride for a job well done. That’s why so many people switch from compounds to recurves and longbows in the first place. They want more challenge and satisfaction. Not only is mastering the primitive arts challenging, it is very rewarding in many respects. And don’t forget the self-confidence that comes from knowing how to survive with basic tools and knowledge. It’s easy to see why so many of us pursue primitive archery and other primitive living skills. It’s natural, where we came from. It’s in our genes.
Leading the list in ‘must-have’ items for those interested in primitive archery and living skills are primitive focus books and primitive focus DVDs. There is much to be learned, so it’s only natural to turn to any and all available information resources. The main “Primitive’ categories of interest are: Self-bow building, bow string making, flint knapping, and primitive living & survival skills. Let’s briefly discuss each category. As we do, we’ll mention the best selling items in each category.
Self Bow Building
This is a huge topic. Several columns could be written about self bows alone. The term self bow is generally accepted to include any bow built from one solid piece of wood. However, since these bows can be backed with various materials such as sinew, rawhide, and snakeskin, we lump them all into the self-bow category. Many bowyers also laminate different woods and non-fiberglass materials together in the construction of high-performance ‘primitive’ bows. These bows are far from primitive, yet since they have no fiberglass, they are included in this ‘primitive’ category.

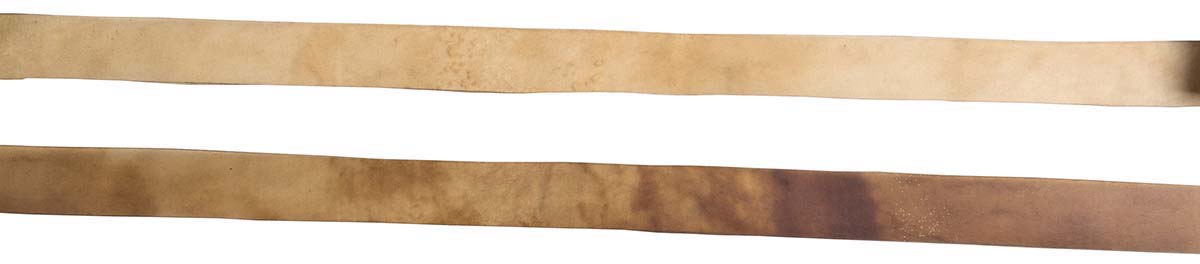
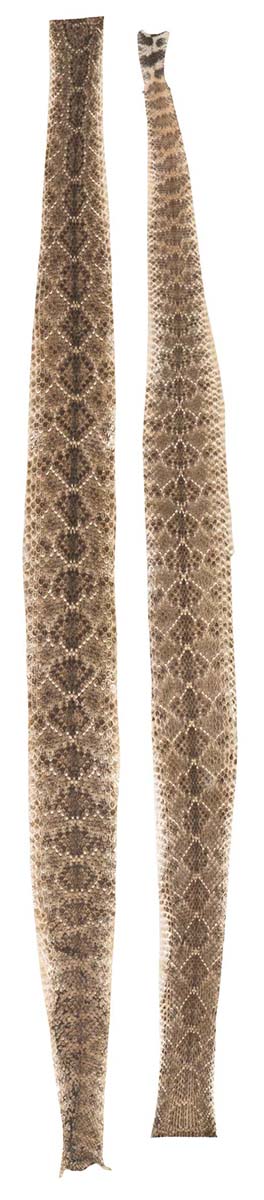
Sinew, Rawhide, and Snakeskin are popular backings for self bows.
The Bowyer’s Bible series contains Volumes 1-4 and they are exactly what you’d expect… “THE books for aspiring bowyers.” Published by Jim Hamm, these books were a combined effort by many talented bowyers from all over the world who shared their insights and techniques for bow building.

Every Bowyer’s library should include The Bowyer’s Bible series.
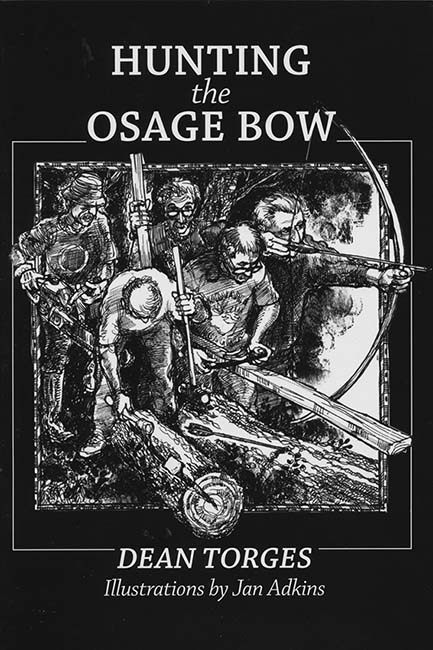
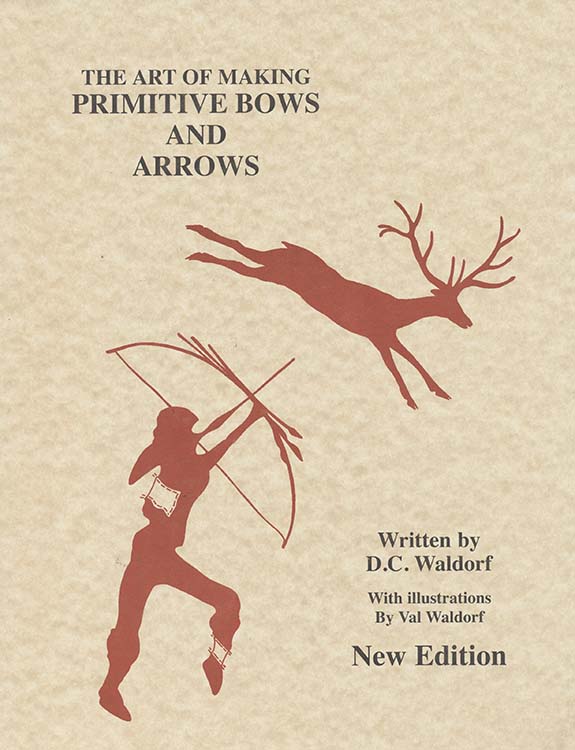
Other excellent bow building books deserving of mention are: Hunting the Osage Bow by Dean Torges, and The Art of Making Primitive Bows and Arrows by D.C. Waldorf. Both of these books are worth including in your library. But if you intend to start small, at a minimum, purchase the Bowyer’s Bible series.
The aspiring bowyer has a lot of choices when it comes to reference books.
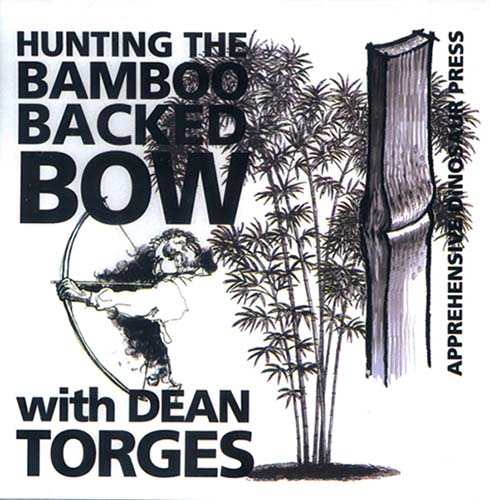
In bow building DVDs, several titles stand out. These include Rattlestick: A Selfbow Tutorial by Gary S. Davis, Billets to Bow by Glenn St Charles, and Hunting the Bamboo Backed Bow with Dean Torges. Each does a superb job in making the process easy to understand and accomplish.


Supplies for Bow building
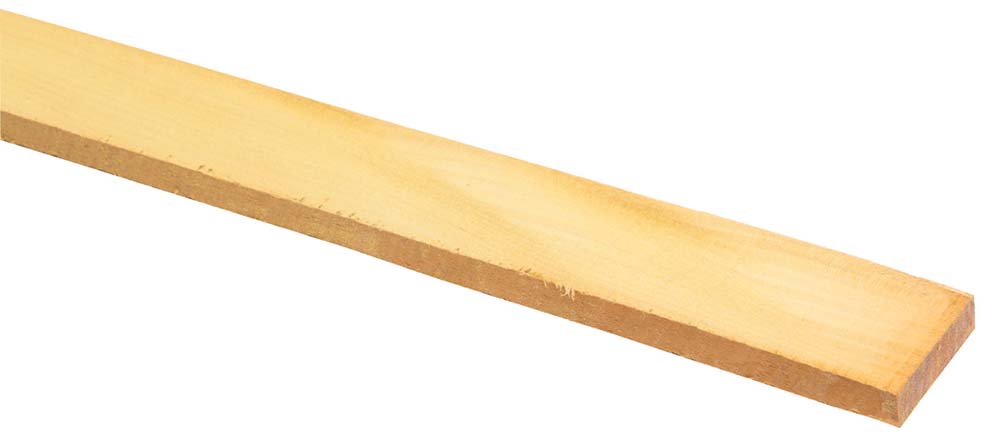
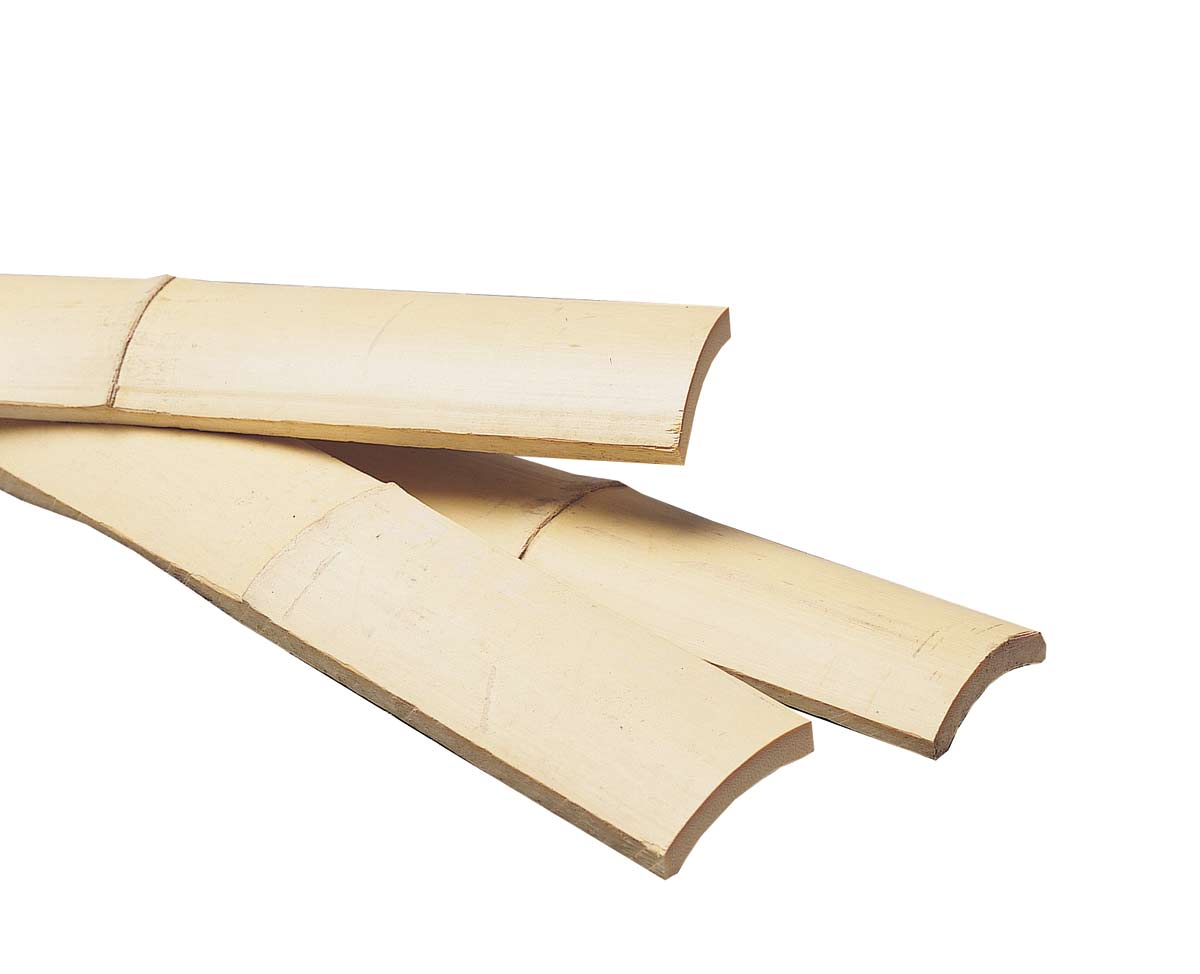
When it comes to bow staves, (quarter-splits from logs used to make self bows) quality staves are difficult to come by. But you can probably find someone locally who carries them. Also keep in mind the popularity and usefulness of Osage lumber and Bamboo backings. The Osage lumber is pre-cut to bow sized dimensions, roughly 1½” x 5/8″ x 72″. Bamboo backing is then prepared and glued onto the back of the Osage. Both the Osage and the Bamboo are quite popular in do-it-yourself circles.
Popular Primitive bow building materials include Osage and Bamboo.
You’ll also want to make sure you have the adhesives on hand for these bow building techniques. The EA-40 two-part epoxy by Smooth-On is an excellent choice because it can be used in fiberglass-to-wood or wood-to-wood applications as well.

EA-40 two-part epoxy is a versatile and effective bow building adhesive.
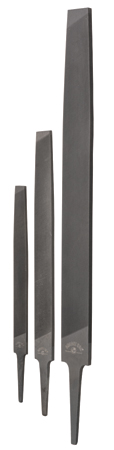
Many tools are used in bow building, so it’s a good idea to make yourself familiar with them. The list of important bow building tools includes; draw knives, spoke shaves, scrapers, and rasps. Most of the heavy work and rough shaping is done with draw knives. Spoke-shaves are used when a little more control and finesse is needed. Cabinet scrapers see a lot of use for final shaping and very fine detail work. Rasps and files, depending on their coarseness, are used often and during different stages of the construction process.
Forged 6″ Draw Knife Spoke Shave 3-Piece Scraper Set
The successful primitive bowyer needs to be familiar with many tools.
Once the bow is shaped, tested and ready to go, it needs a protective bow finish. None of the finishes are completely waterproof, but every little bit helps. If moisture gets into the limbs of an all-wood bow, performance will be dramatically reduced. Our favorite finishes are Tru-Oil, (a highly refined, boiled linseed oil) or a quality spray polyurethane finish like those available from Min-Wax.

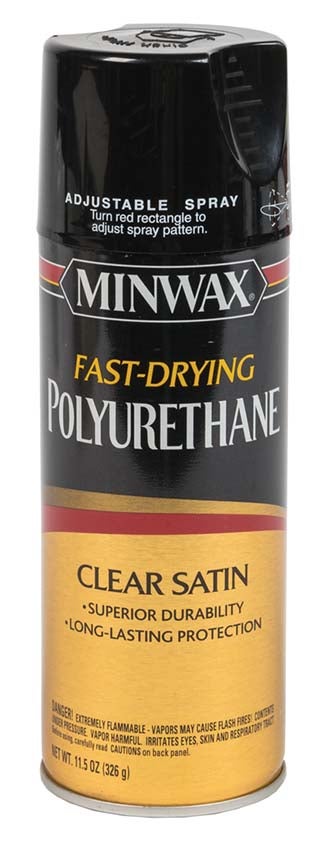
A good finish is important to protect wooden bows from moisture.
Handmade Bow strings
Every bow needs a string. It has always struck us as odd that so many people are willing to build a bow from scratch, but then they balk at making their own bow strings. Most primitive bowyers use the Flemish-twist style of bow strings. Many of them still buy the strings too, but if you have the materials on-hand, as well as the “how-to” information, you can build your own. B55 string material is perfect for primitive bows. You’ll also want to consider having a Flemish string jig, serving tool, and a DVD like How to Build a Great Bowstring. There is also an excellent chapter on bow strings in The Traditional Bowyer’s Bible, Volume Two.
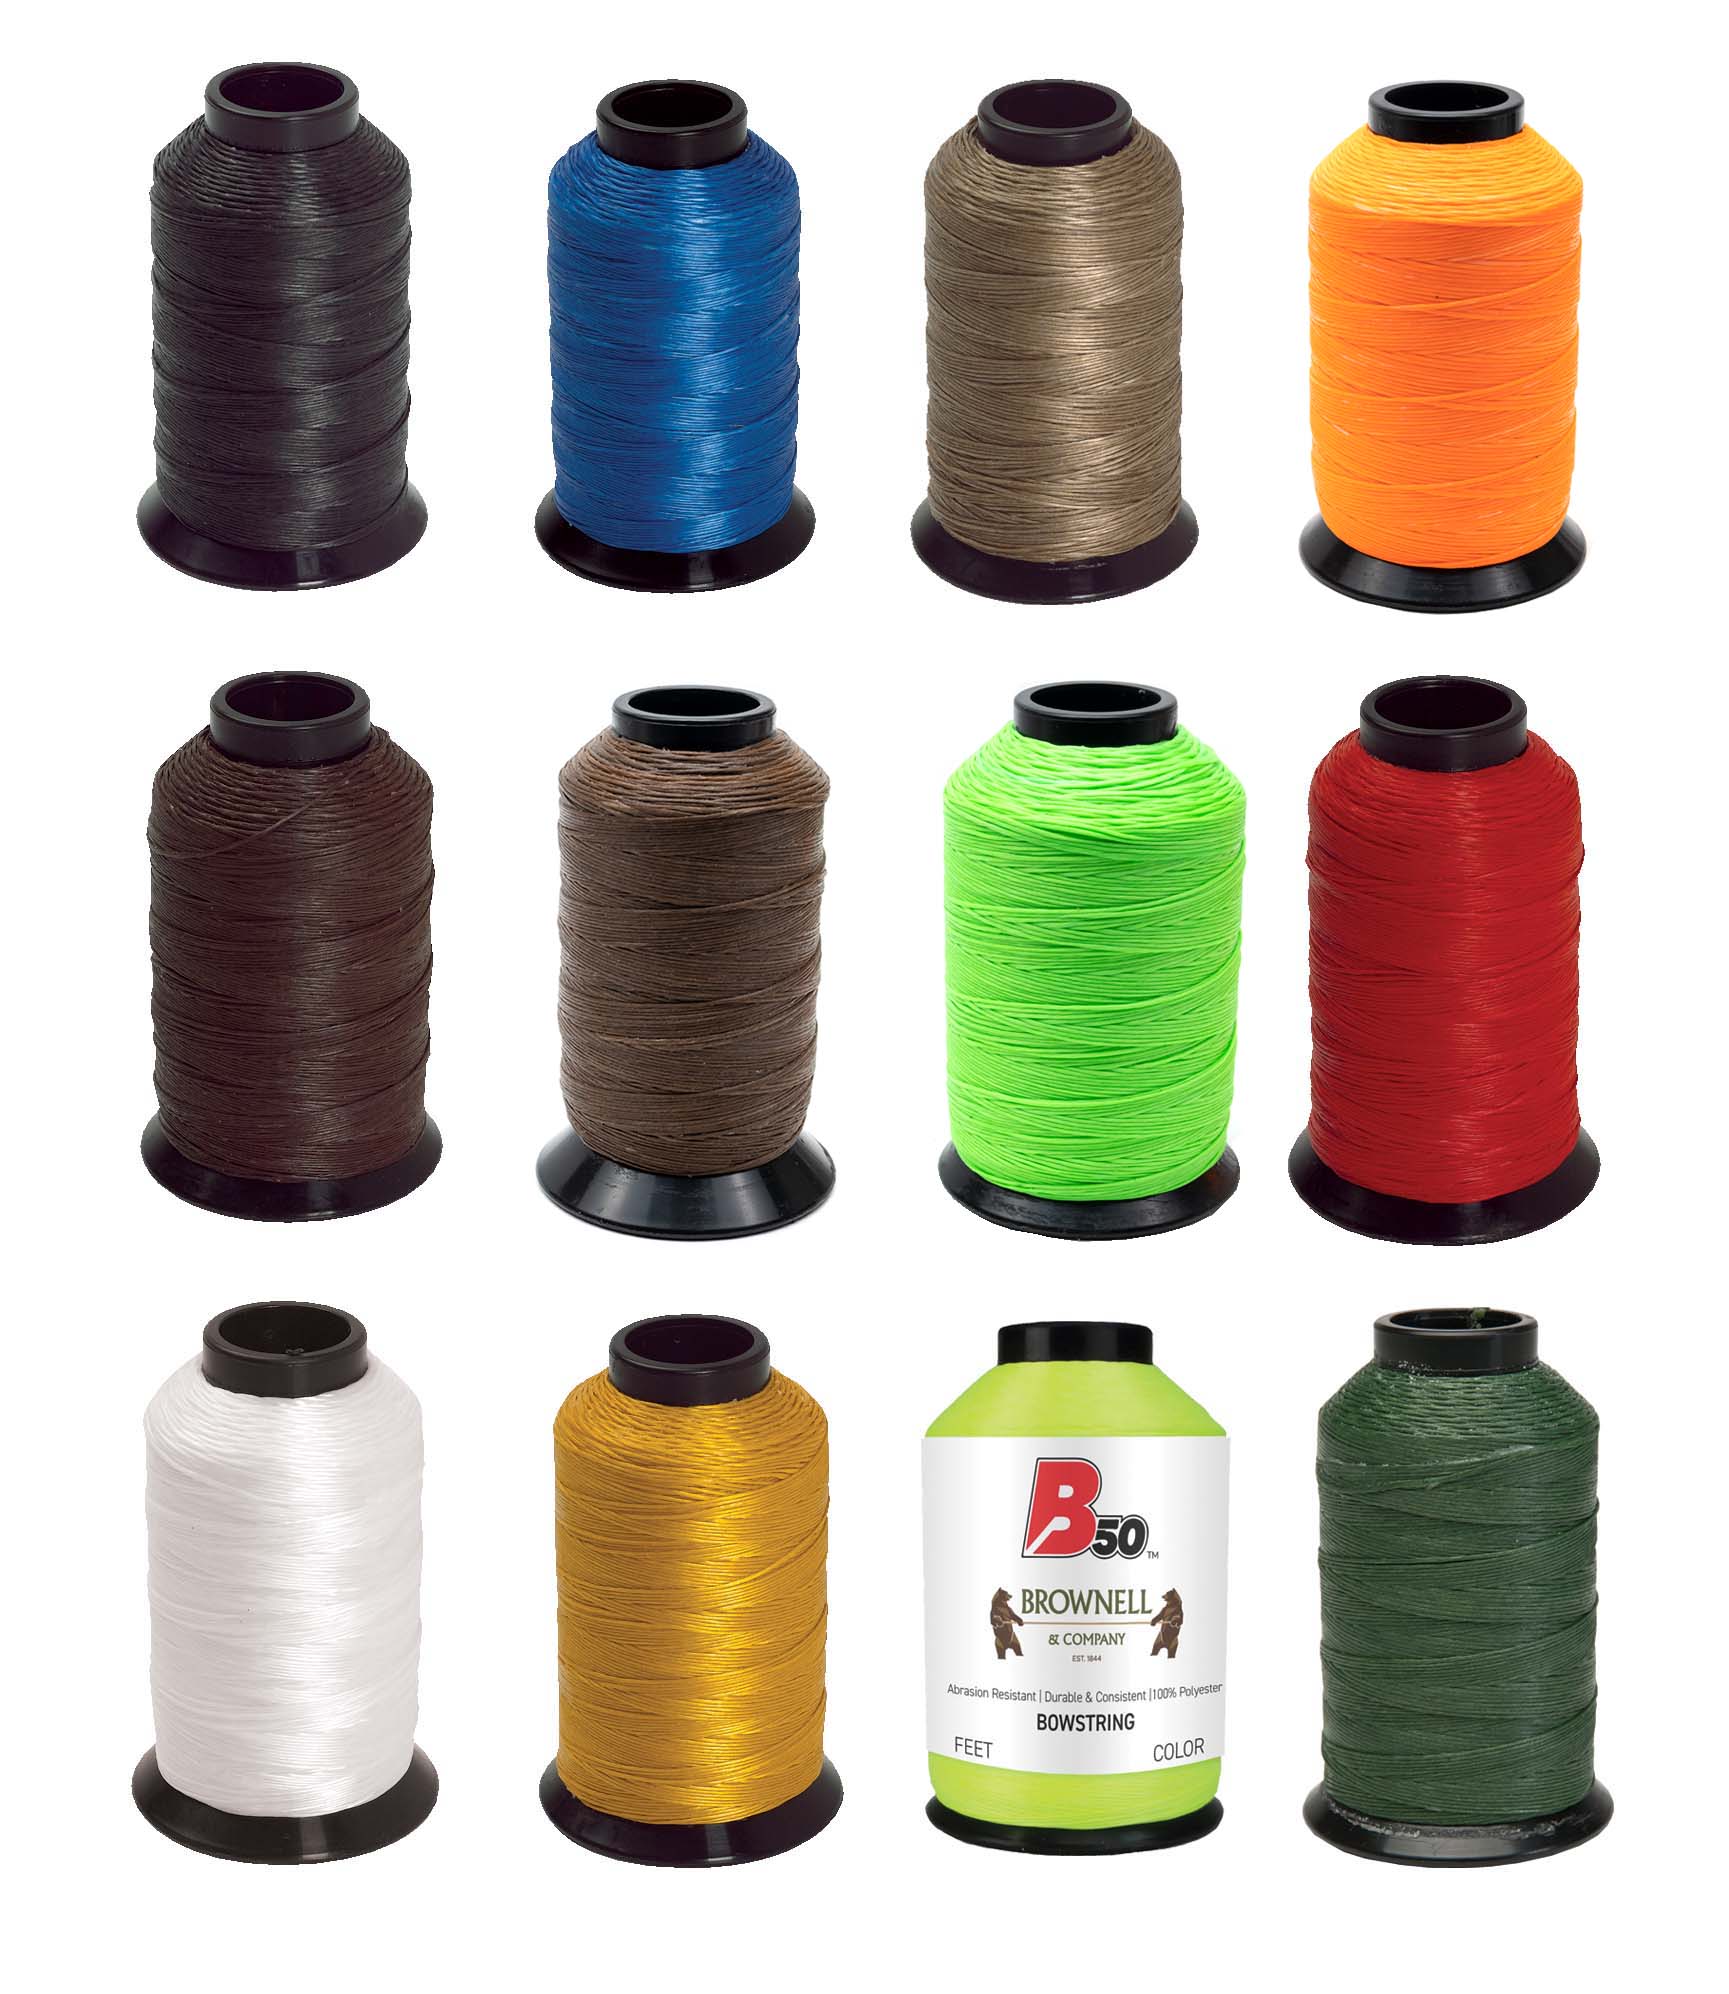
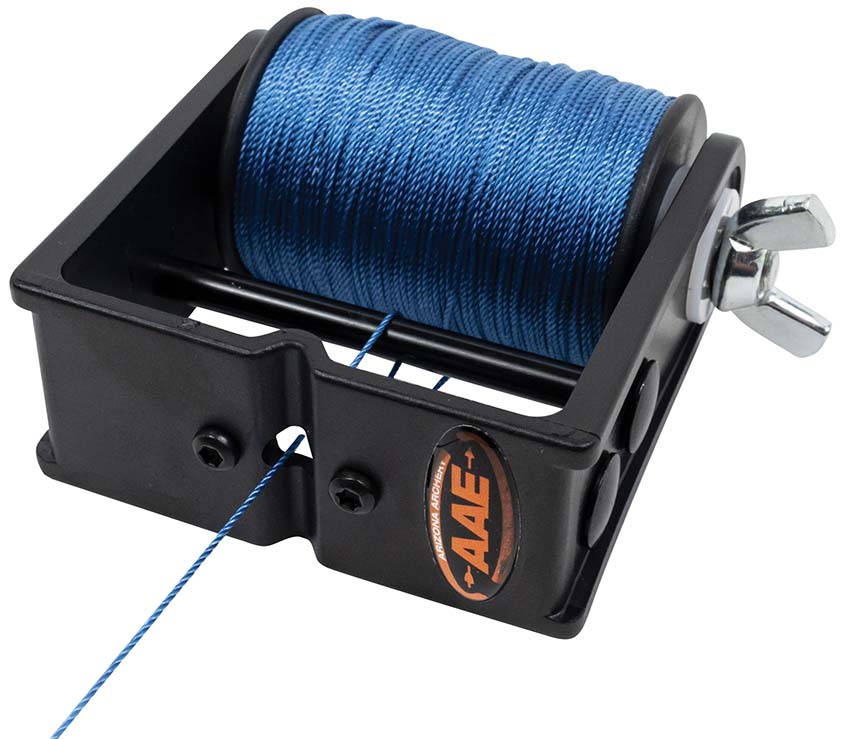
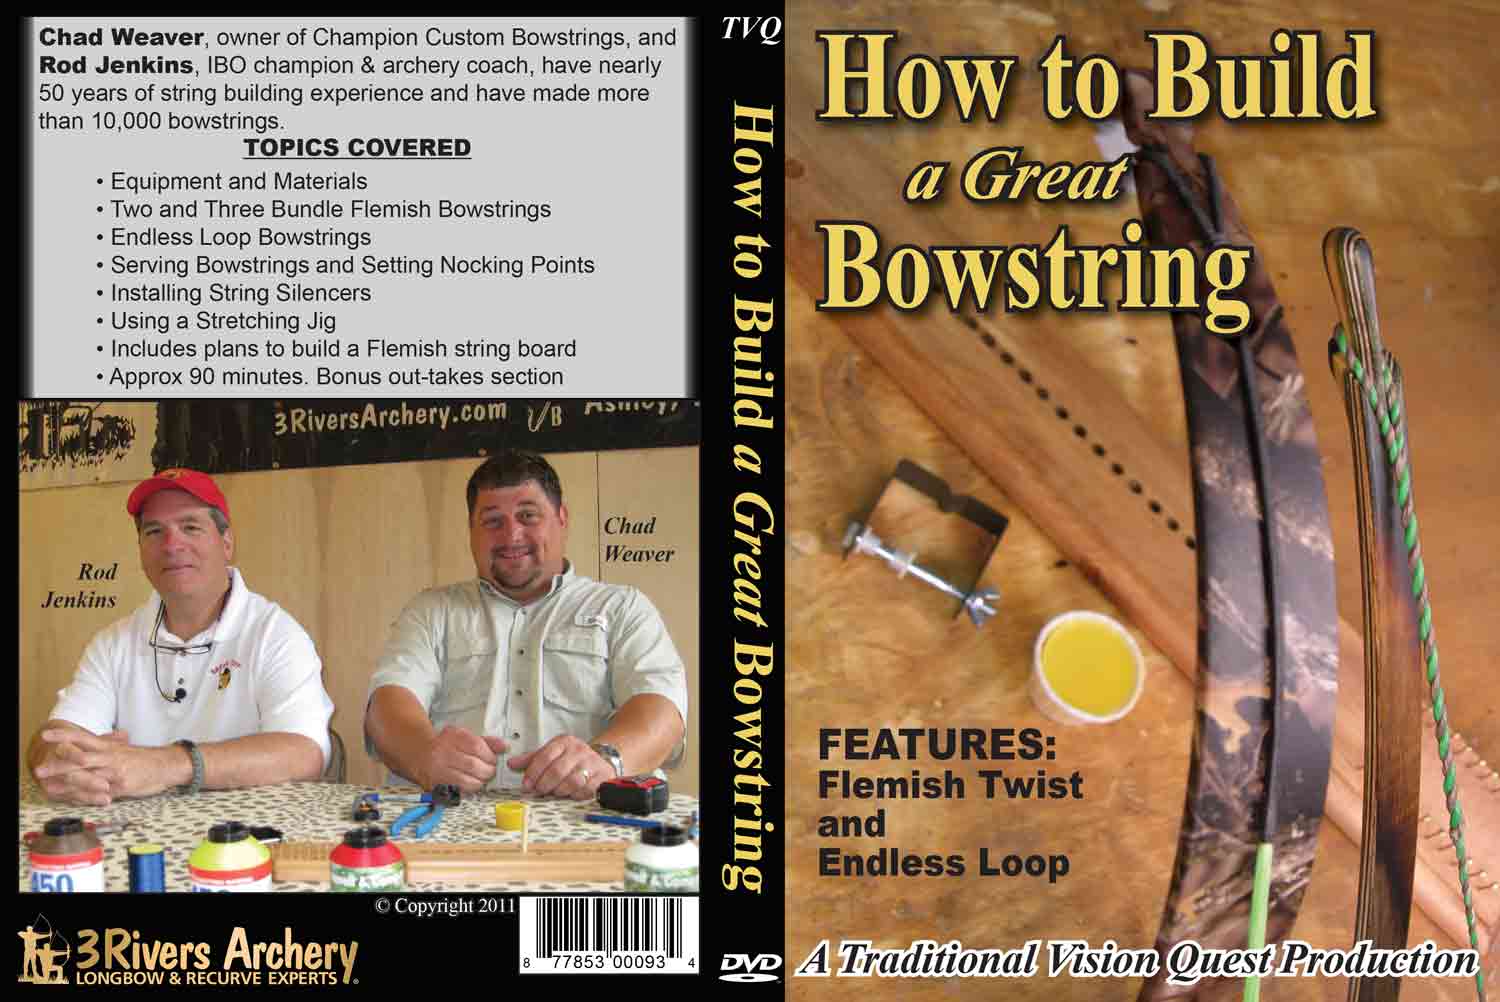
The Primitive Bowyer should also consider having string making tools and accessories on hand.
Flint Knapping
Flint knapping is one of the big draws in primitive archery. This art is experiencing strong growth. It’s understandable. People are fascinated with knapped arrowheads and knives. Live demonstrations always draw big crowds. No one seems to be able to walk by a knapping demo without stopping to check out this “magic.” If you’ve ever watched one, you know what we mean. Many flint knappers do it for the pure pleasure of making something functional and beautiful by strategically removing flakes of material, one at a time, from a plain old rock. We’d venture a guess that most knapped artifacts end up in display cases or used in jewelry, rather than on arrows destined for hunting. Still, there are those who hunt with them, and quite successfully we might add.
If you’d like to try your hand at this ancient art, you’ll need a good source of flint. In some states, like Ohio, flint may be found quite readily in rock quarries and even freshly plowed fields. Watch out for quality if buying from a local source. Ask to see some finished pieces, or even ask for some samples and give them to one of the knappers in your area to get their feedback. If it’s good stuff, buy it. Shipping on flint is a bit high, so delivery to your door is great! Normally though, you’ll need to get it from a distributor. In that case, if shopping for flint, look for the heat-treated flint. When you heat-treat flint properly, you enhance it’s “knap-ability.” In other words, you’ll get a stone that’s easier to flake. Obsidian is another material you may want to consider. It is really volcanic glass, a super-hard, extremely brittle stone that yields beautiful points. It’s a bit more delicate to work with, but is certainly worth the effort.
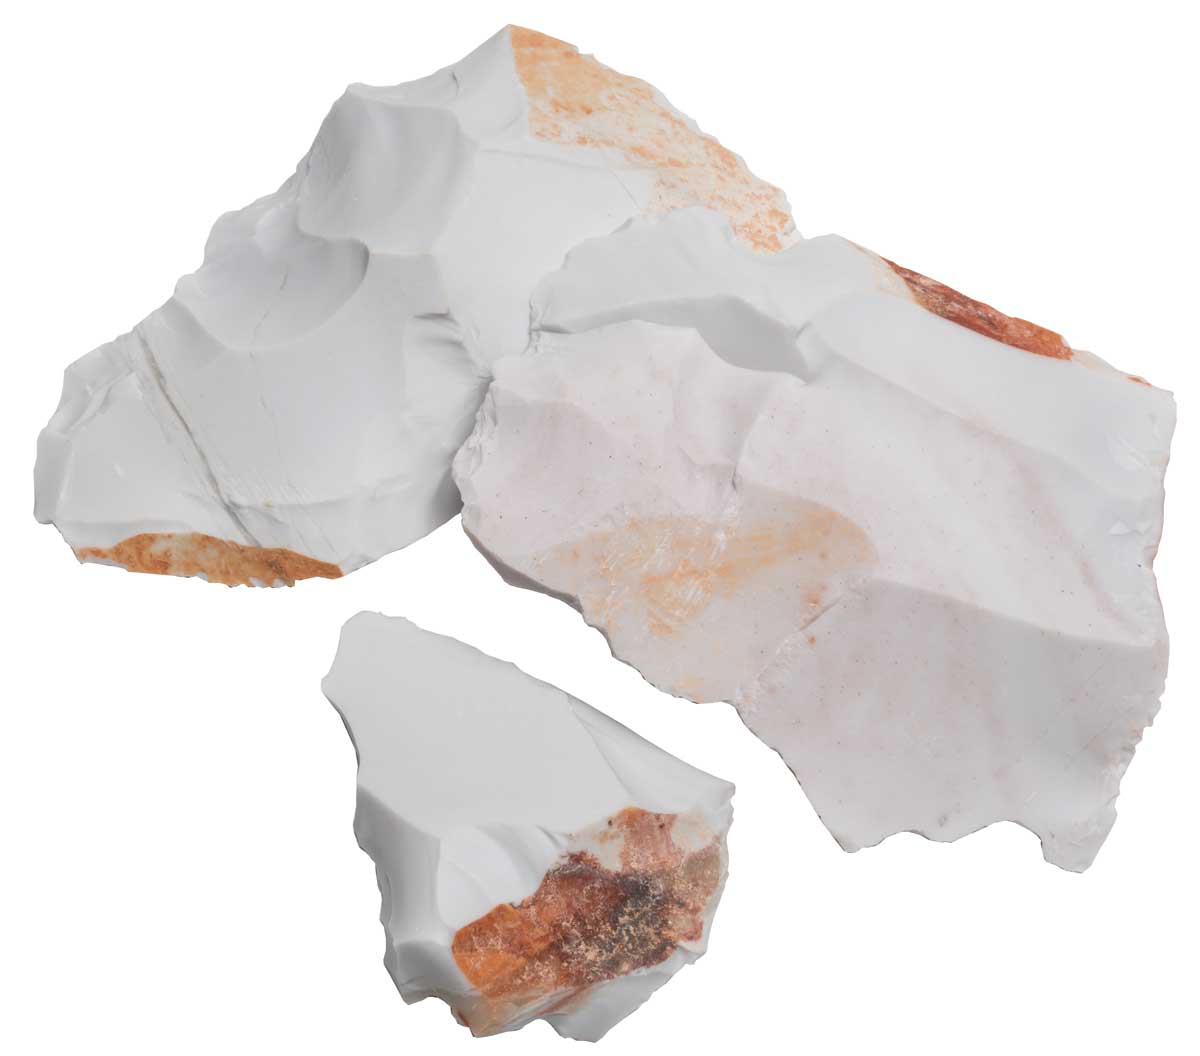
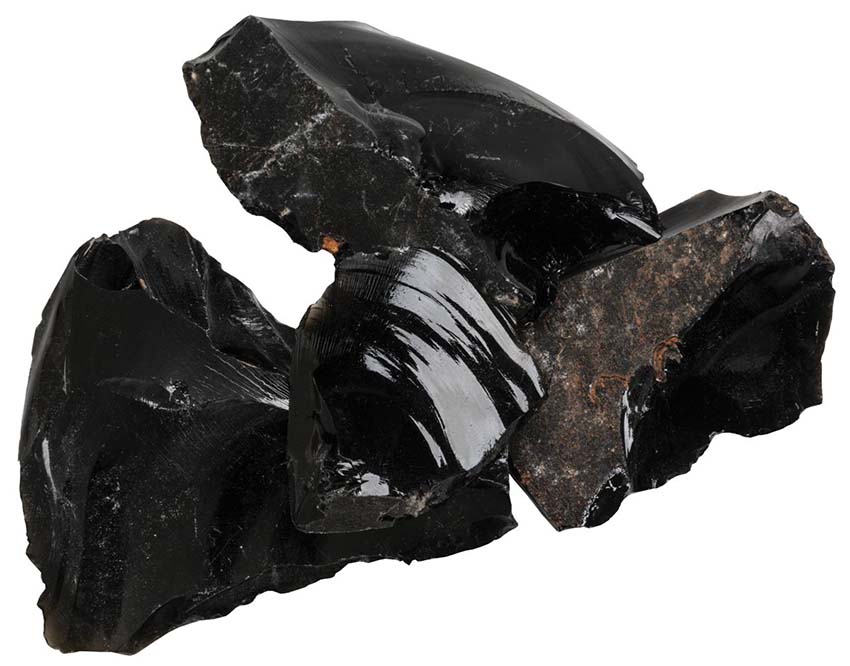
Heat-treated flint and Obsidian are both excellent materials for flint knapping.
Tools for Flint Knapping
There are two types of tools that flint knappers must have, the pressure flaker and the knapping billet. Here’s why. Pressure flaking and percussion flaking are the two main techniques used in Flintknapping. Pressure flaking is accomplished with a special tool utilizing a handle with a small, pointed section of either; copper, aluminum, or steel sticking out the front. The tool is brought in contact with the edge of the piece and is first pressed straight into the piece, then, when the knapper feels the inward pressure has built up sufficiently and it’s time to remove the flake, the pressure is changed to a downward angle until the flake pops off.
Percussion flaking is used more for general shaping unless you are pretty darn good. We know knappers who can almost make an entire piece by percussion and only switch to the pressure flaker for final shaping and sharpening. Percussion is like it sounds. You force the flakes off of the stock by striking the piece with a percussion flaking tool. These are made of moose antler, copper, brass, and even aluminum. The stone is held on your working pad, and you strike the edge of the piece repeatedly, constantly turning the piece as the flakes are removed. This is a fast way to remove a lot of material.

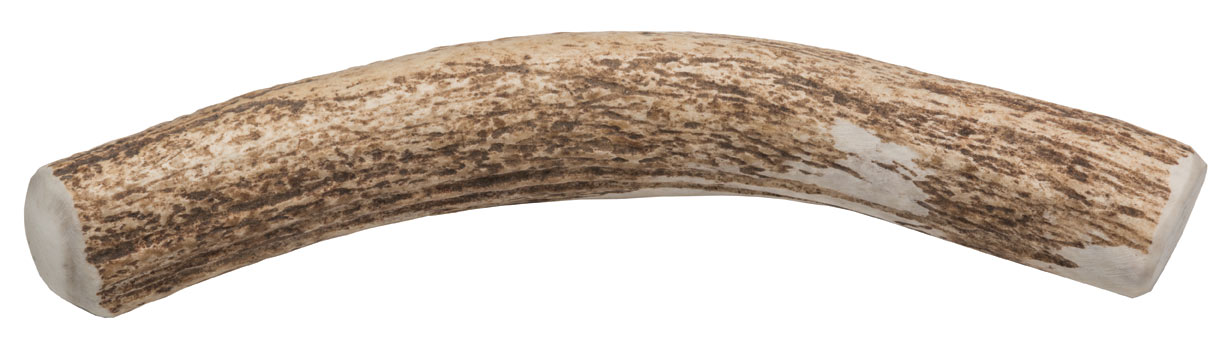
Two must-have tools for flint knapping are the pressure flaker and the knapping billet.
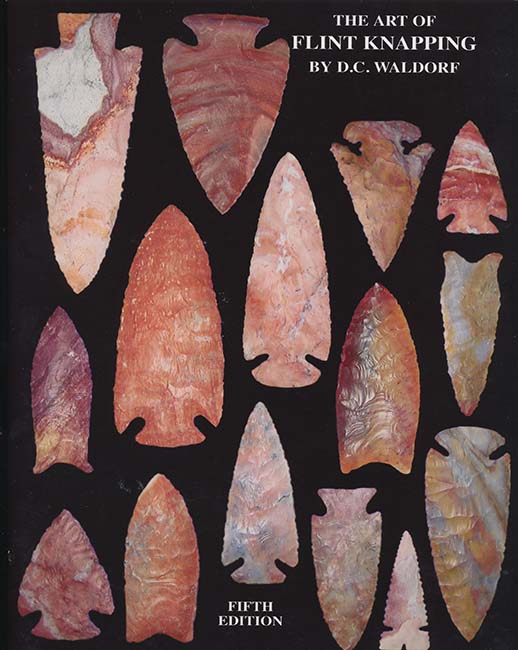
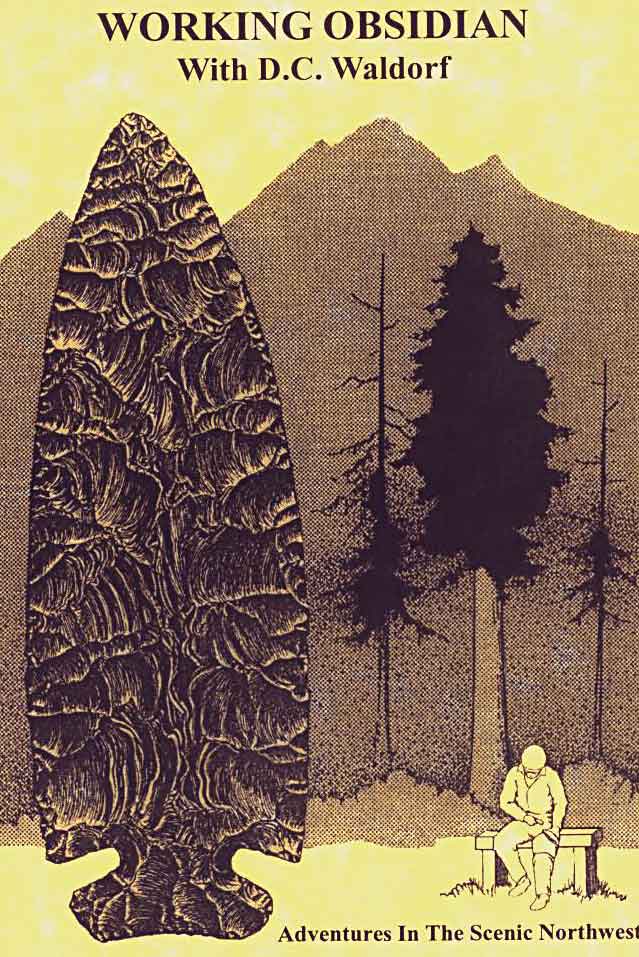
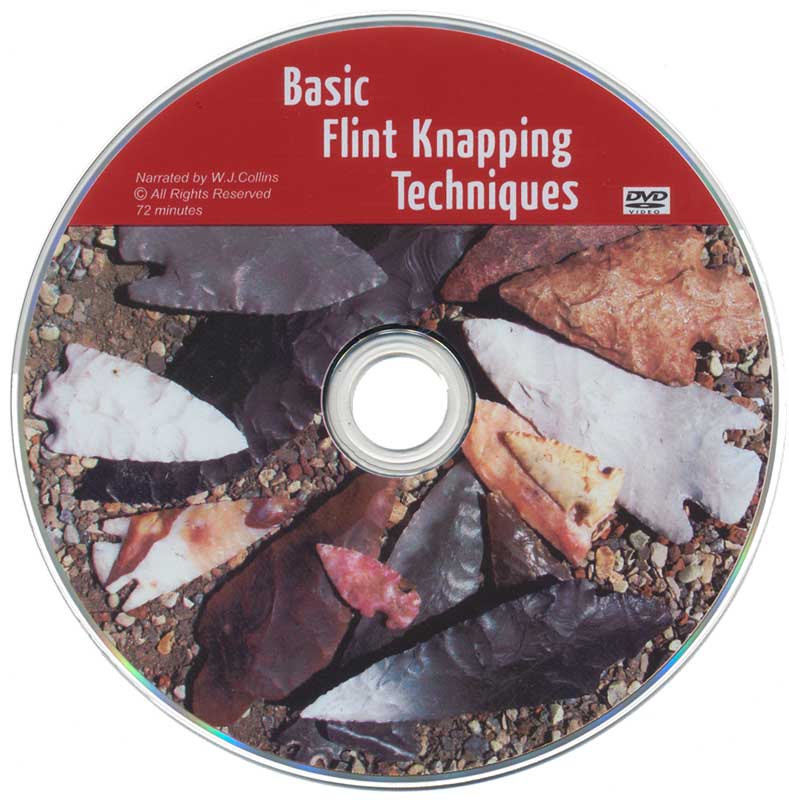
Anyone interested in serious flint knapping must be able to learn percussion flaking. At least one good book and one good DVD are recommended. DC Waldorf’s The Art of Flint Knapping 5th Edition is a good choice for a book (has a companion DVD also). Working Obsidian by D.C. Waldorf and Basic Flintknapping Techniques narrated by W.J. Collins are good DVDs too.
Don’t underestimate the importance of flint knapping reference materials.
One product that sells year-in and year-out is the flint knapper’s kit with Aluminum Billet. This small box is a top-seller and contains everything a budding flint knapper needs to get started. They make great gifts and for the person who just wants to give flint knapping a try, they’re perfect.
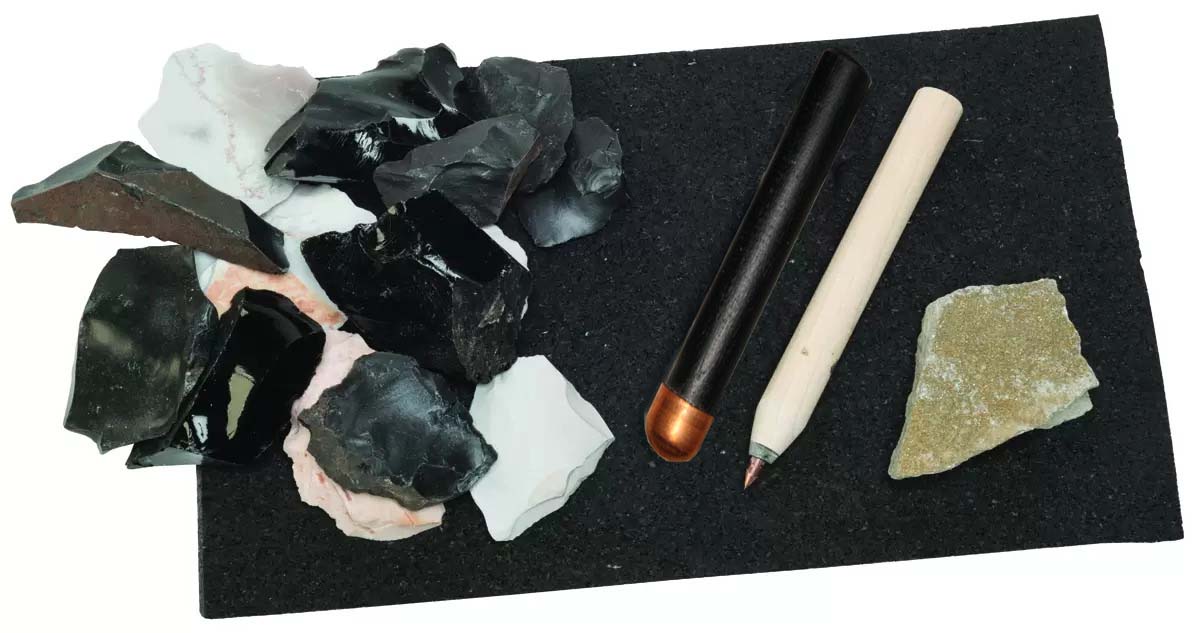
Everything you need to start flint knapping is in this top-selling starter kit.
Primitive living and survival skills
Primitive living and survival skills are another popular category in the primitive arena.
“What if my plane went down and I had to survive in the wilderness?”
“What would I do about food and water?”
“Where would I stay?”
“What would I wear?”
These are the kinds of questions that are answered when you study primitive living and survival skills. Once you get a feel for the answers, it’s exciting to get in the woods and test yourself. In time you feel totally comfortable in the wilds because you KNOW that you can take care of yourself. To develop these valuable skills you mostly need just good books and DVDs. One such book, Primitive Wilderness Living and Survival Skills, by John McPherson is excellent. It covers just about everything you’d need to know to survive in the wilderness, including primitive bow and arrow building, trap making and setting, shelters, cordage, and clothing. This particular book covers it all from a primitive angle too.
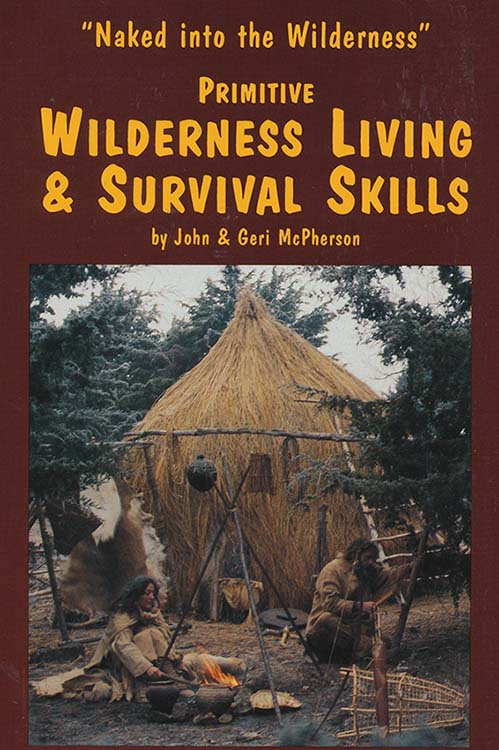
One of the best primitive living/survival guides is John McPherson’s
“Primitive Wilderness Living and Survival Skills.”
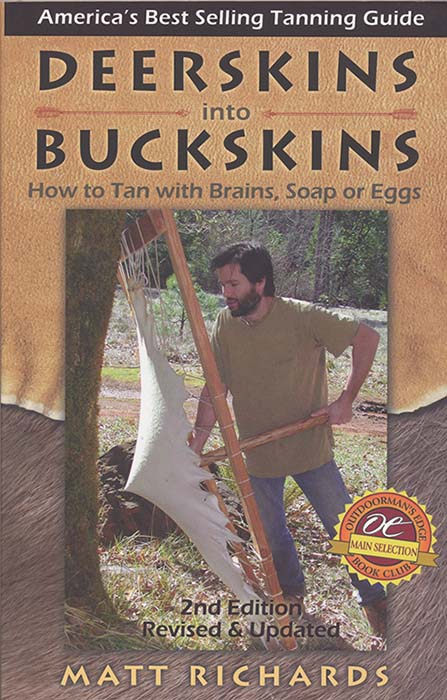
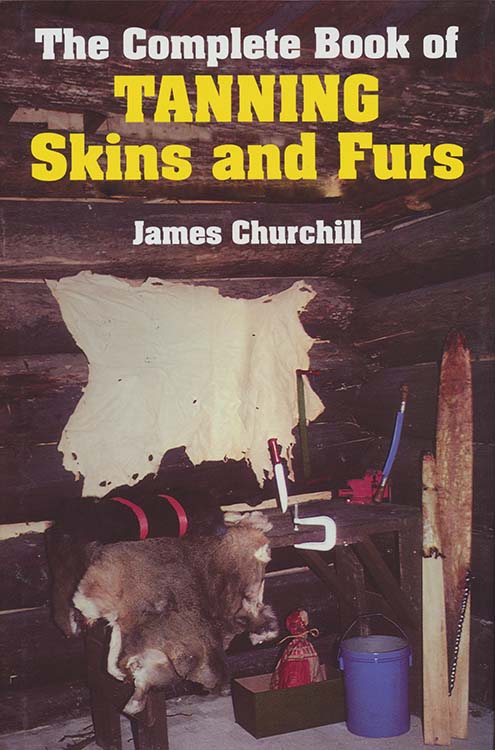
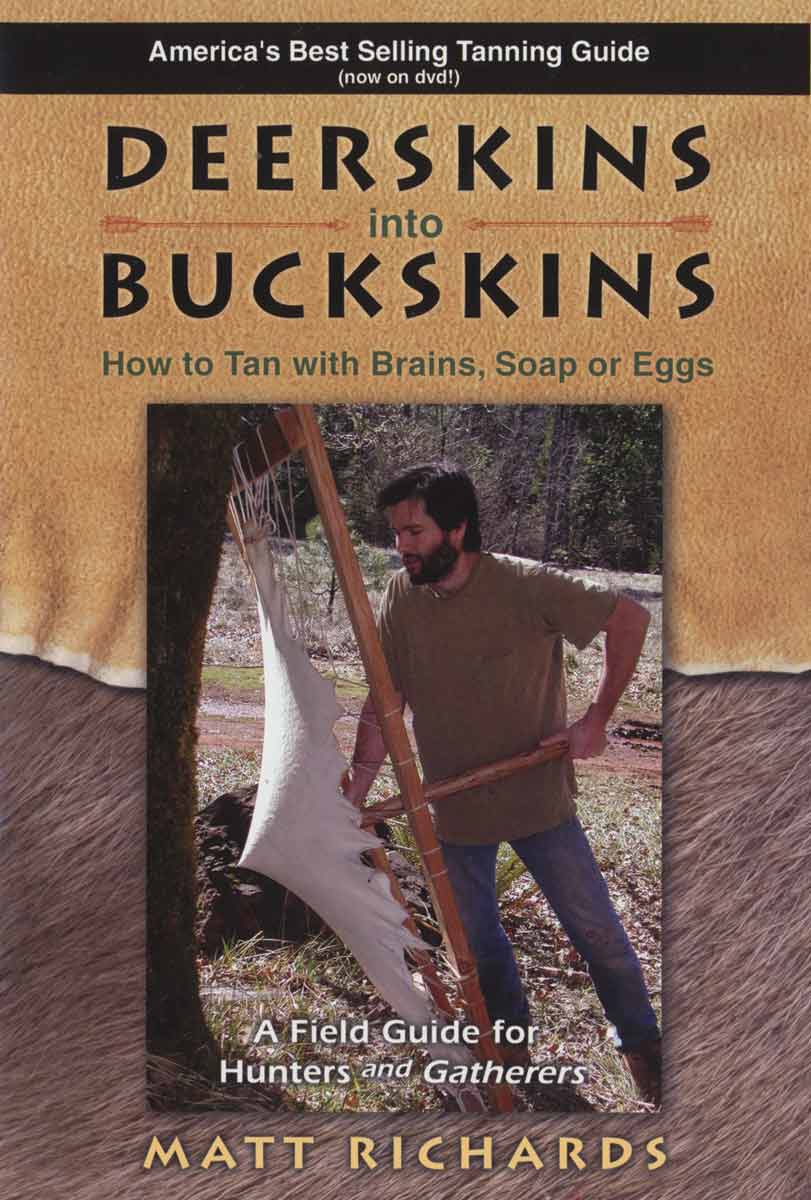
If you’re interested in tanning hides, there is a good selection of books and DVD’s on the topic. The Complete Book of Tanning Skins and Furs is a good one, as is the Deerskins to Buckskins series (it comes in book or DVD and has everything you need to know for tanning skins.) We understand that this seems a bit “fringe” to archery enthusiasts, but we have found that those who are making their own primitive bows and arrows are also open to exploring other primitive skills and hobbies.
There are several excellent resources for those interested in tanning hides.
The world of primitive technology is fascinating. It’s a direct link to our past. And by learning the skills involved we perpetuate the knowledge. Give it a try. Read some of the books and watch the DVDs. By selecting certain key how-to books and DVD’s, you can build your knowledge. And with the proper supplies and tools for bow building and flint knapping on hand, you’ll soon be on your way to exploring a rich and rewarding new hobby!
Keep Hunting
Dale Karch & Todd Smith
For more information contact:
3Rivers Archery
PO Box 517
Ashley IN 46705
1-866-587-9501
[email protected]
or check us out on-line at 3RiversArchery.com
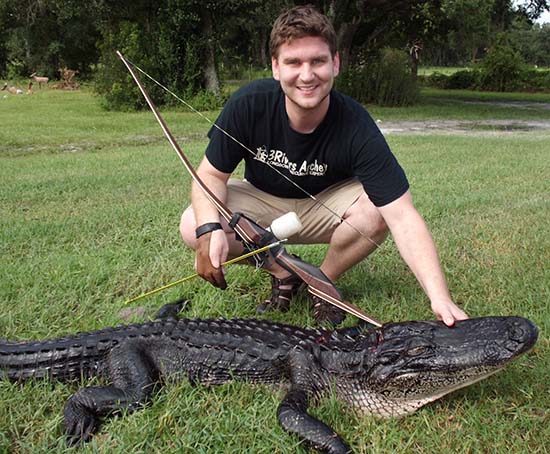
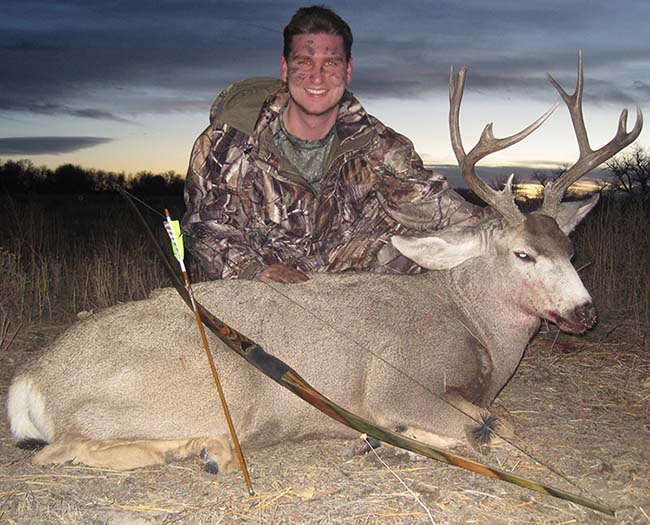
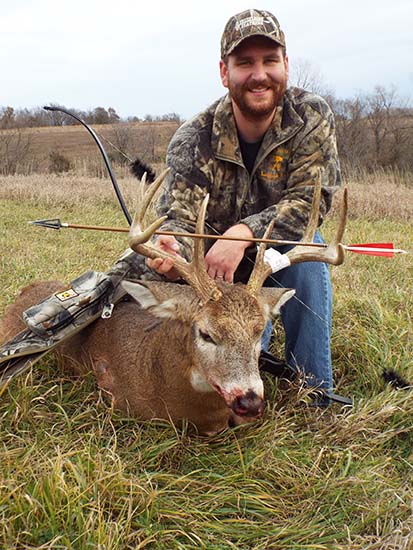
By: Dale Karch and Todd Smith


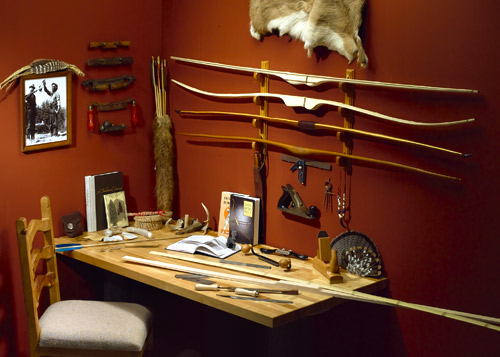
.jpg "Welcome to the 3Rivers Archer's Den")

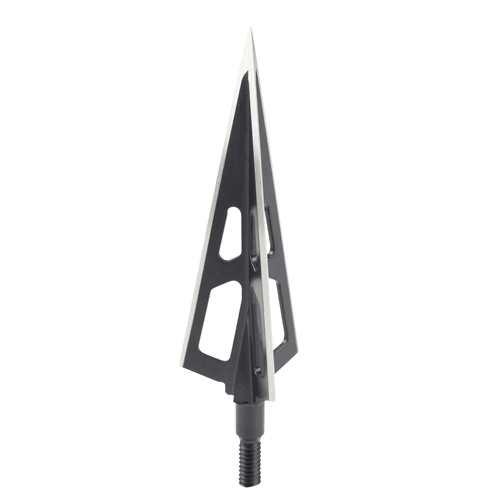
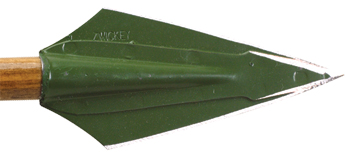
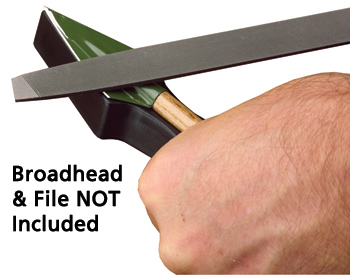
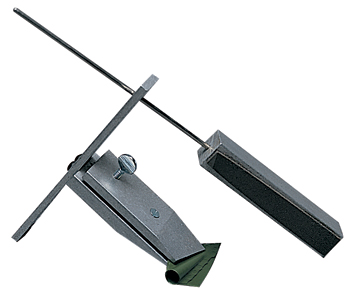
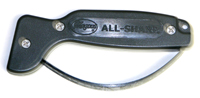
 The final category of broadhead sharpness is the “you sharpen” broadheads. These types of heads are attractive to many traditional archers because of the lower initial cost, and with some sharpening they can provide years of service. Most all of them come out of the package with a fine edge on them, but they will require sharpening to make them hunting sharp.
 If a 2-blade design is what you are set on, separate the heads based on weight selection, bevel and your sharpening ability.


 and effectively search the whole strip with their sense of smell. Bucks in search of receptive does do the same thing. John Hale, a noted hunter of big bucks with traditional equipment, shared this with me back in 1991. I was hunting down in Illinois when we met to have dinner one night during the rut. The bucks were constantly harassing the local does. The does were sneaking around with their tails clamped down tight and bedding in the thickest cover to avoid the aggressive bucks. John was easing into the downwind side of the thickest bedding areas he knew of and climbing into a treestand on or just inside the area he figured a buck would walk through. He didn’t even place his stands that high depending on the cover. He said many times setting his stand at eight feet high was plenty high to go undetected. He reported seeing and passing shots on numerous bucks so far that season and had proven the method numerous times on big bucks over the years. Later in the week on that same hunt I used John’s advice to collect my first Pope and Young buck. I placed my stand fifteen yards in the off the downwind edge of a thick, brushy hollow choked with honeysuckle. Sitting in the stand since first light I’d passed on shots at several smaller bucks. At 2:15 pm a bigger buck popped up out of the hollow chasing a doe and hesitated within easy range allowing me to shoot.
 When temperatures rise during the whitetail rut it seems to shut down a lot of the normal increased movement. The rut will carry on though because fawns are still born the same time every spring. Since I started hunting water sources, I no longer dread heat waves during the rut. In fact some of my hunting buddies and I use it to our advantage. We’ve had nice bucks drink in the morning before going to their day beds and also come in the first thing after rising in the afternoon. Does need water also and can attract bucks in during the rut. I was sitting all day in a large woods during a hot spell years ago. At high noon, a huge buck appeared from a draw and plodded over to a tiny pot hole in the woods with his mouth hanging open. He tanked up like a camel and sauntered back into the draw he came from.
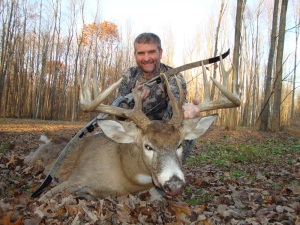 One area I used to hunt had multiple swamps. At times they all had standing water in them. While the deer could drink anywhere, they had a couple preferred spots where they watered. Both were located on outside corners of the swamps. I’m not sure why they preferred these spots, but I know on warm days in November they are great treestand or blind locations. I’ve also noticed dried up drainage ditches and creeks will sometimes have pools of water left behind in low spots that can become prime water sources.
 I’ve had some early season spots that are doe and yearling paradise. We seldom see any bucks in these areas early. When the rut starts though buck sign appears seemingly overnight. My wife and I hunt a quarter mile strip of trees that we call the gauntlet. It’s normal to have three to five groups of does filter past early in the season. When the rut comes, buck rubs and scrapes appear and bucks seem to wait in ambush for the does the run the “gauntlet.” Remember the doe spots you find early and check them when the rut comes. If the does are still there chances are they will have male company.
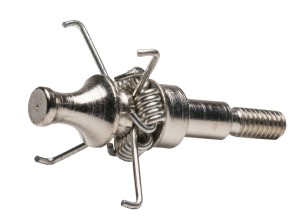
 The best example I can think of for using your ears to hunt was experienced by my friend, Dale Karch. Dale and his wife, Sandie, own 3Rivers Archery. He was invited by True Flight Feathers to hunt their property in Iowa for whitetails. One morning in November, Dale positioned himself in a ten foot high ladder stand 10 yards inside the edge of woods that necks down between a creek and a high weed, CRP field. He heard a deep grunt resembling a hog when he entered in the dark. Around 9:00 he heard a grunt again. It sounded close, but scanning and glassing the area provided no clues. A lone doe walked between the CRP field and his ladder stand a short time later. Dale said the doe was staring at a clump of brush about fifty yards away from the ladder stand. She walked closer with her ears rotated forward and bobbing her head up and down focused on the brush. Dale figured the grunts were coming from there. The doe wandered off finally around 10:00 and Dale quietly climbed down and stalked the brush pile. Upon arrival, he found nothing and glanced around puzzled. Twenty-five yards away he noticed a crab-claw antler tine sticking up out of the CRP grass in a slight gulley. He nocked an arrow and crept closer. A big non-typical buck was bedded, facing away on a narrow ledge cut into the bank of the gulley. Dale eased into less than twenty feet, rose up and delivered a Woodsman broadhead into the vitals. On impact, the buck jumped up and into the bottom of the five foot deep gulley where he mired into two feet of mud and expired right there.