


.jpg "Welcome to the 3Rivers Archer's Den")
How to Cure Target Panic
by Sam Strong
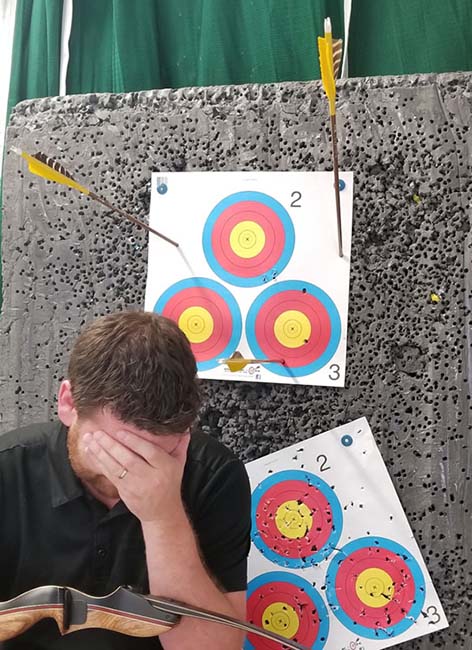
There’s not much that can be worse in traditional archery than hearing the dreaded words “target panic.” Target Panic is a mental block causing the archer’s form to break down and wreak havoc on your shooting skills. It can sometimes be described as a fear of missing the target. Other archers describe it as shot anticipation. In other words, it’s the expected recoil of the shot, similar to flinching when shooting a firearm. Your body braces itself for what is going to happen at the release.
Regardless of the definition, I think it is safe to say that target panic is a failure in your shot sequence. It can ruin a lot of the hard work that is put forth into perfecting your form. Fortunately, there is a lot of information regarding techniques and accessories to help you get back on track.
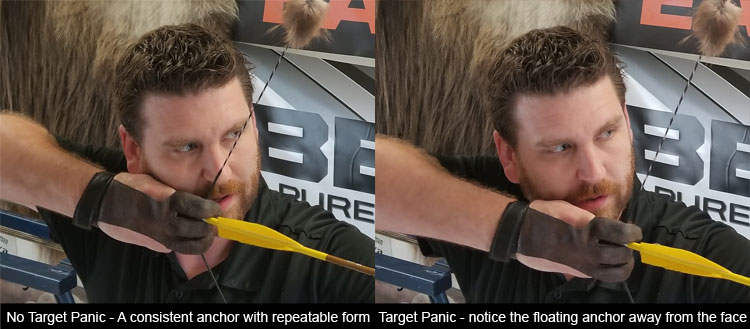
It often starts when an archer places to much mental pressure on making the shot and the fundamentals aren’t followed through, leading to erratic shooting. Probably the most notable flaw is having an inconsistent anchor point. Some archers find themselves unable to get to full draw. Other shooters start to collapse at the shot and their form breaks down just prior to releasing an arrow.
One of the unique things about target panic is the fact that it may not be noticeable at first, but over time it becomes a full blown problem. The first thing in being able to cure the target panic is recognizing and diagnosing the problem. If you find yourself letting go of the string too soon, not coming to full draw, creeping before the shot, having a poor release, or losing your composure, you just might have the feared disease called target panic.
Overcoming the problem is best done by using a controlled shot sequence. A controlled shot sequence is one where the archer goes through a mental check list, making sure each part of the shot is done properly and precisely the same way each time. Instead of drawing back and shooting, you focus on the individual aspects of the shot. For instance, you break it down into the draw, the anchor, the release, and follow through.
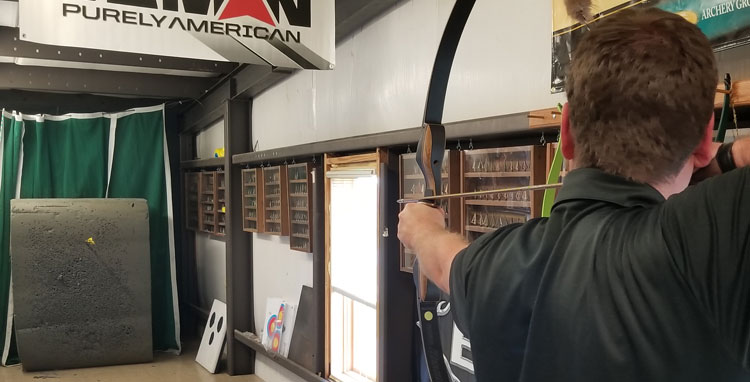
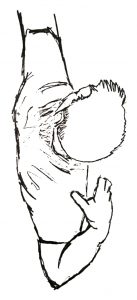
Another technique often used is blind bale shooting. Blind bale is a term used where the archer is shooting at a very close target. Some shooters will close their eyes while doing this exercise while others might not release an arrow at all. The idea is that you learn to focus on the shot sequence and the mechanics, not the target itself. This method is a great way to help develop your form as you “feel” the shot. Just be conscious that you will need to transfer what you have been working on over to the actual shot sequence.
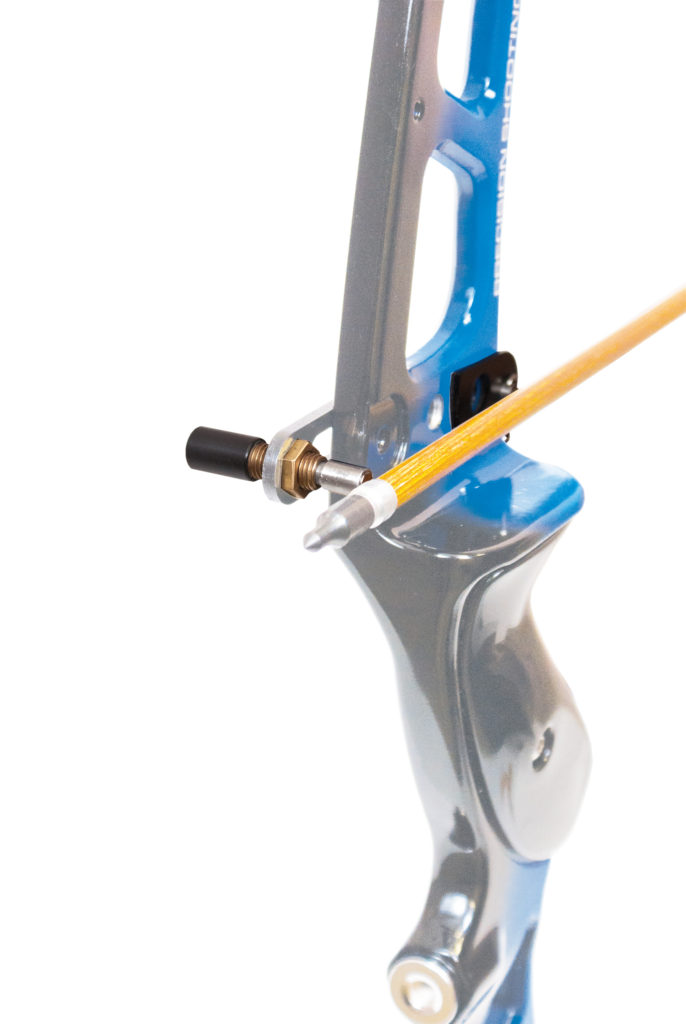
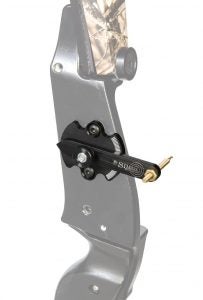
Draw checks are great tools that aid in curing target panic. There are several different types available and often referred to as “clickers.” These devices ensure that you reach full draw each time by giving an audible click to let you know you are at full draw.
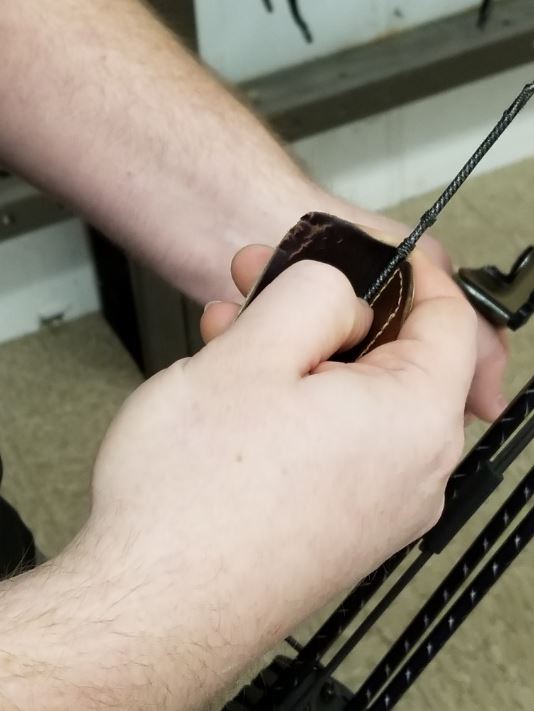
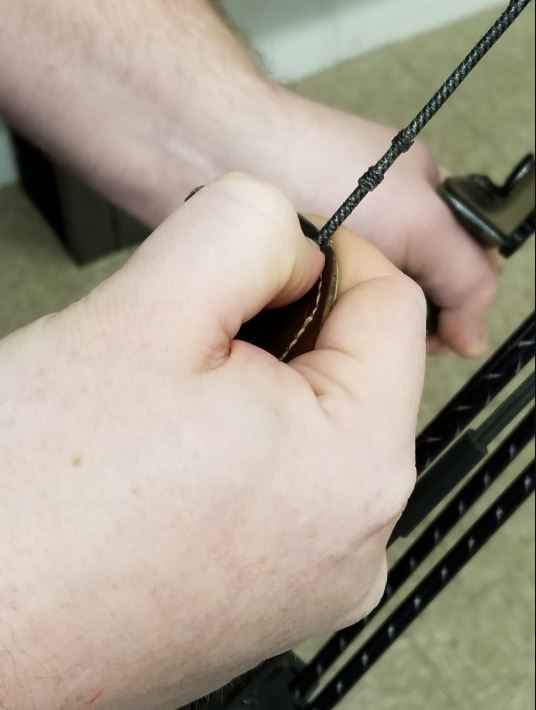
Other devices include grip sears and tab sears. They can be somewhat difficult to explain in writing, but it works by giving an audible cue after going through your shot cycle. As you draw the bow, you place a slight amount of pressure on the sear. With practice, you develop a rhythm where as draw the bow pressure steadily increases. When you are at full draw, you use the last bit of back tension to pull through the shot causing the sear to click. This gives an audible cue and a psychological (or mental) note to release the string.

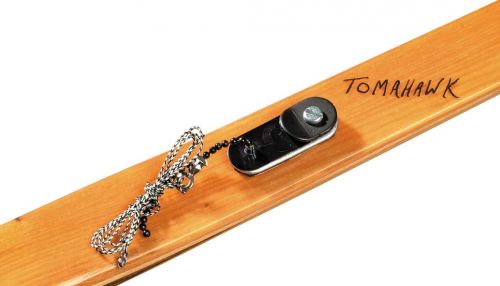
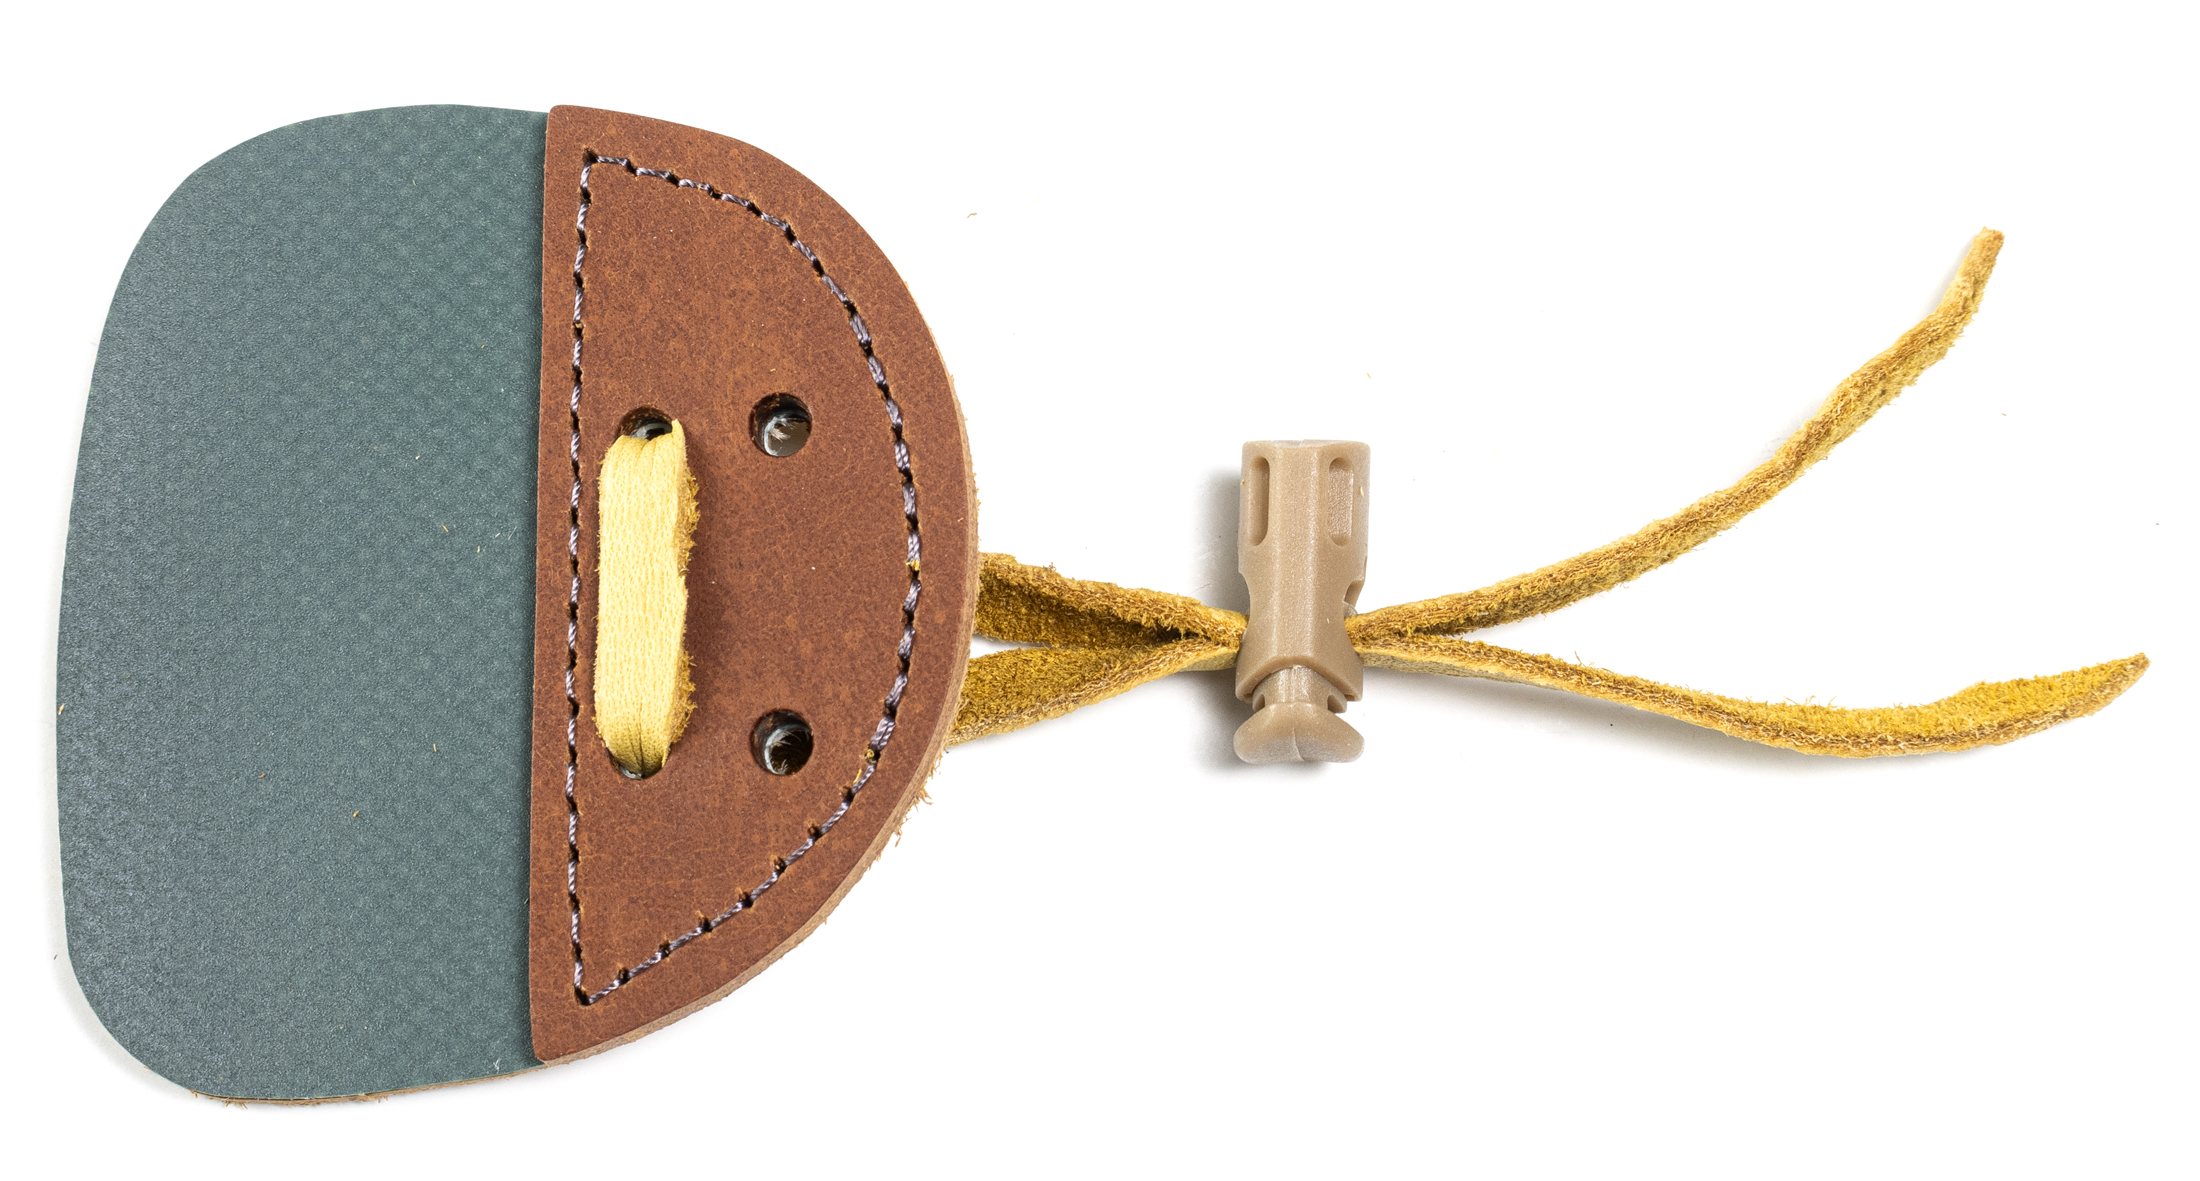
Another device called the Handy Clicker has gained some popularity. It works very similar to a grip sear, but is not attached to the bow. It can also perform as a tab sear, giving the shooter a couple of options to see what works best for their needs.
I think the best advice is learning to re-program your mind and create a shot sequence. By separating the shot into different tasks, such as the release, the anchor, etc., you can develop better form. By concentrating on one aspect of the shot at a time and then linking the tasks together, you eventually learn how to control the shot.
Learn to trust your equipment, your form, and your skill, will lessen the anxiety of the shot. In the end, you will be back to shooting more confident and more proficient than you previously have ever been shooting.


 I’m sure there are people in this world that ask, “Why would anyone want to use a traditional bow when modern compound bows are readily available? What reasons exist for someone to want to make archery more difficult?”
 Maybe it’s time for you to put down the high tech equipment and give traditional archery a try. Most beginners I speak with are afraid to try this sport, feeling it’s overly complicated. Like anything else, there is a learning curve, but the sport really isn’t all that complicated. In fact, it’s quite the opposite.
 To be an accomplished archer means that you need to have control of your mental focus. It’s often one of the most difficult things to execute, but one of the reasons many find archery so relaxing. Being able to focus on your form, technique, and target requires practice. When done properly, your mind doesn’t wander, but concentrates on the task. When you pick up a bow and shoot a few arrows, you’ll find yourself forgetting about all your troubles. It truly is a great form of relaxation.
 Bowfishing Bows:
 Drum Reels for Bowfishing:
 Spincast Reels for Bowfishing:
 Retriever Reels for Bowfishing:
 Regardless of the type of reel, I highly recommend using Safety Slides on your fish arrows. Safety Slides are designed to eliminate the “snap back” of an arrow should the line get hung up. They don’t interfere with arrow flight, are inexpensive, and help prevent possible injuries. In my opinion, this should be a mandatory part of your bowfishing gear.
 For bowfishing points, you want one that penetrates and is able to hold on to the fish. There are many options to choose from and everyone is going to have an individual preference. I look for something that’s easy to use and has proven itself over time, like the
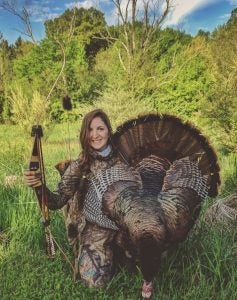
 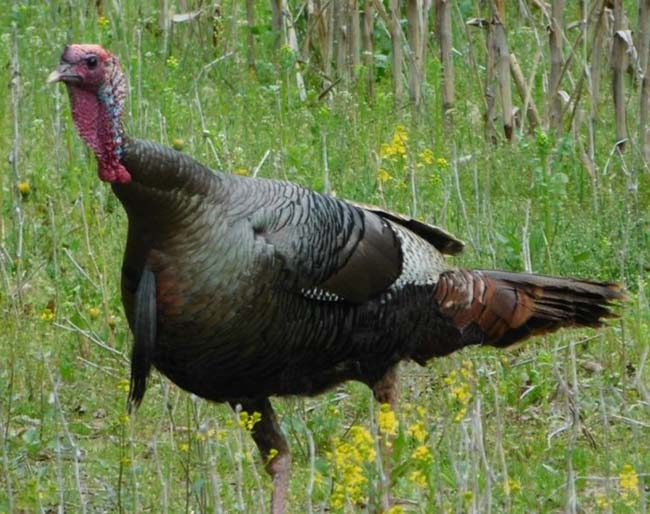 As the snow melts away, my mind starts to turn towards turkey hunting with traditional archery equipment. Now is the best time to make sure you have all your gear ready for hunting turkeys. When the first day of turkey hunting arrives you need to have confidence that your gear performs when you get within bow distance of a strutting tom turkey.


 How to Decide Which Arrow Quiver is Right for you?


 Stance: Start by facing 90° to the target with your feet set and spaced shoulder width apart. Keep your head centered while standing upright and your weight evenly distributed. I prefer to open the stance by rotating the left foot slightly towards the target.
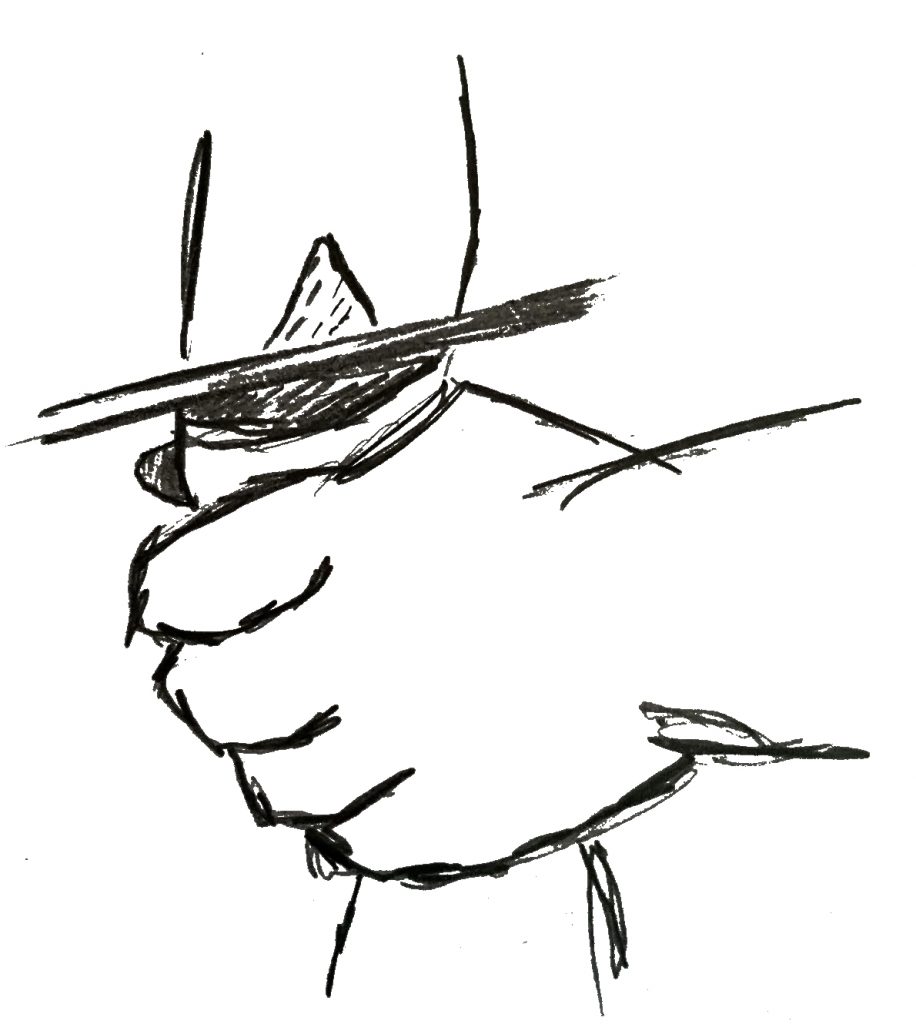 Grip: Hold the bow with your left hand by placing the dished part of the handle on the webbing that is between your thumb and index finger. Using a light grip, rest your palm, section right below your thumb, on the bow and lightly wrap your fingers around the handle. Keep your knuckles at an approximate 45°. You never want to grip the bow too tightly as this can cause torquing and throw off the shot.
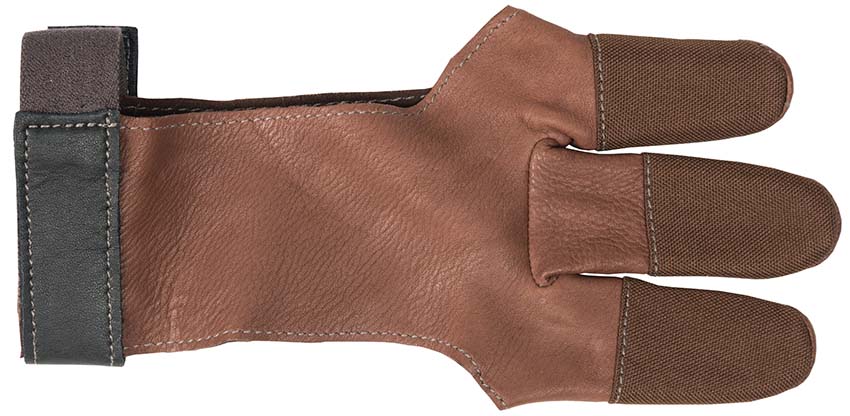
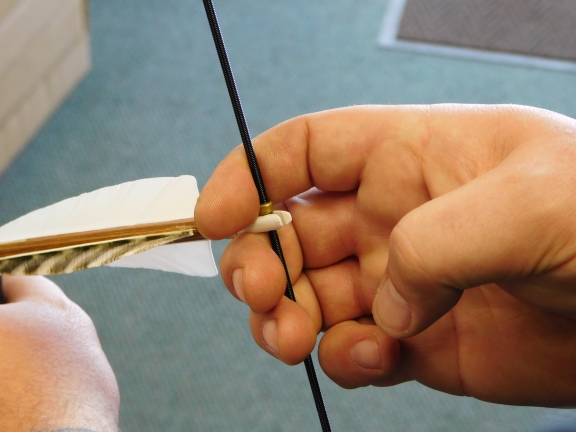
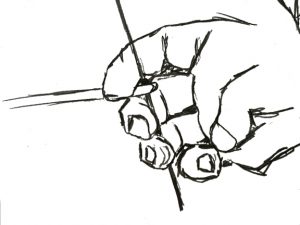 Nocking the Arrow and Finger Placement: Hold the bow in your left hand in front of you and approximately at waist level. With your right hand, hold the arrow about eight inches from the nock end. Rotate the shaft so that the cock feather is pointing out and away from the riser. Snap the throat of the nock on the string under the brass string nock locator. Position the three fingers of your shooting hand on the string with the index finger above the nock and the middle and ring fingers below the nock. Keep the fingers located on the string just in front of the first joint approximately 90° to the string.
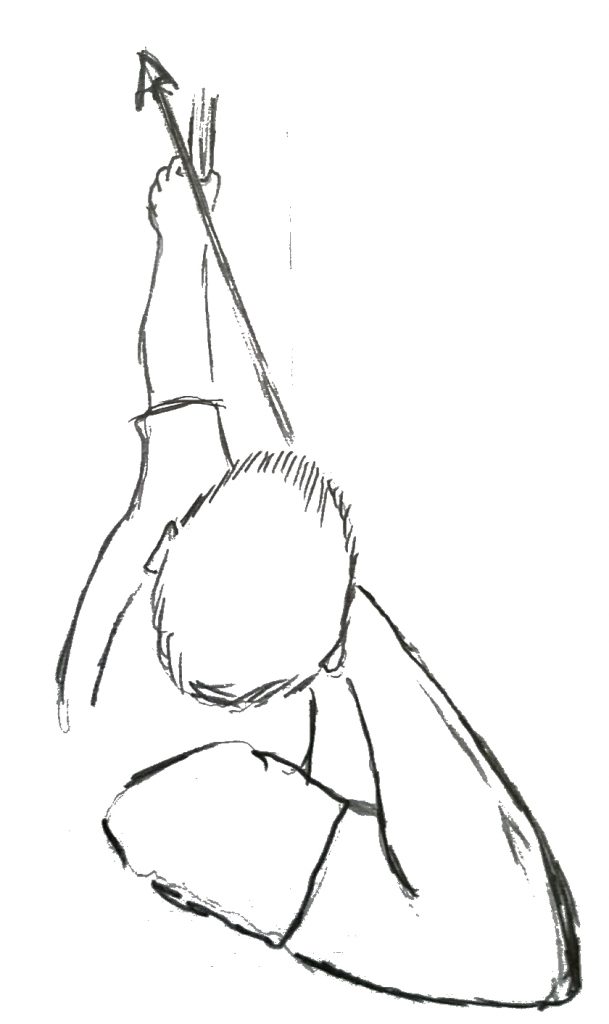 Draw Sequence: Raise the bow so that it is in a vertical location. Keep your bow arm elbow rotated so it’s pointing straight down during the draw sequence. With the drawing arm parallel to the arrow shaft and your head in an upright position begin the draw sequence. There are two thoughts on drawing, one is keeping everything in line while drawing back, and the other is the rotational draw. The rotational method uses more of the back muscles as the drawing arm and elbow rotates around while keeping the elbow more or less at the same height and is the recommended method. Keep light tension on the draw fingers to help prevent any torque during the shot.
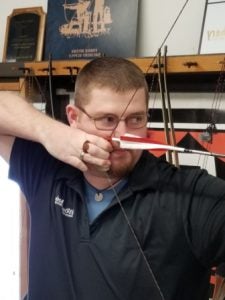
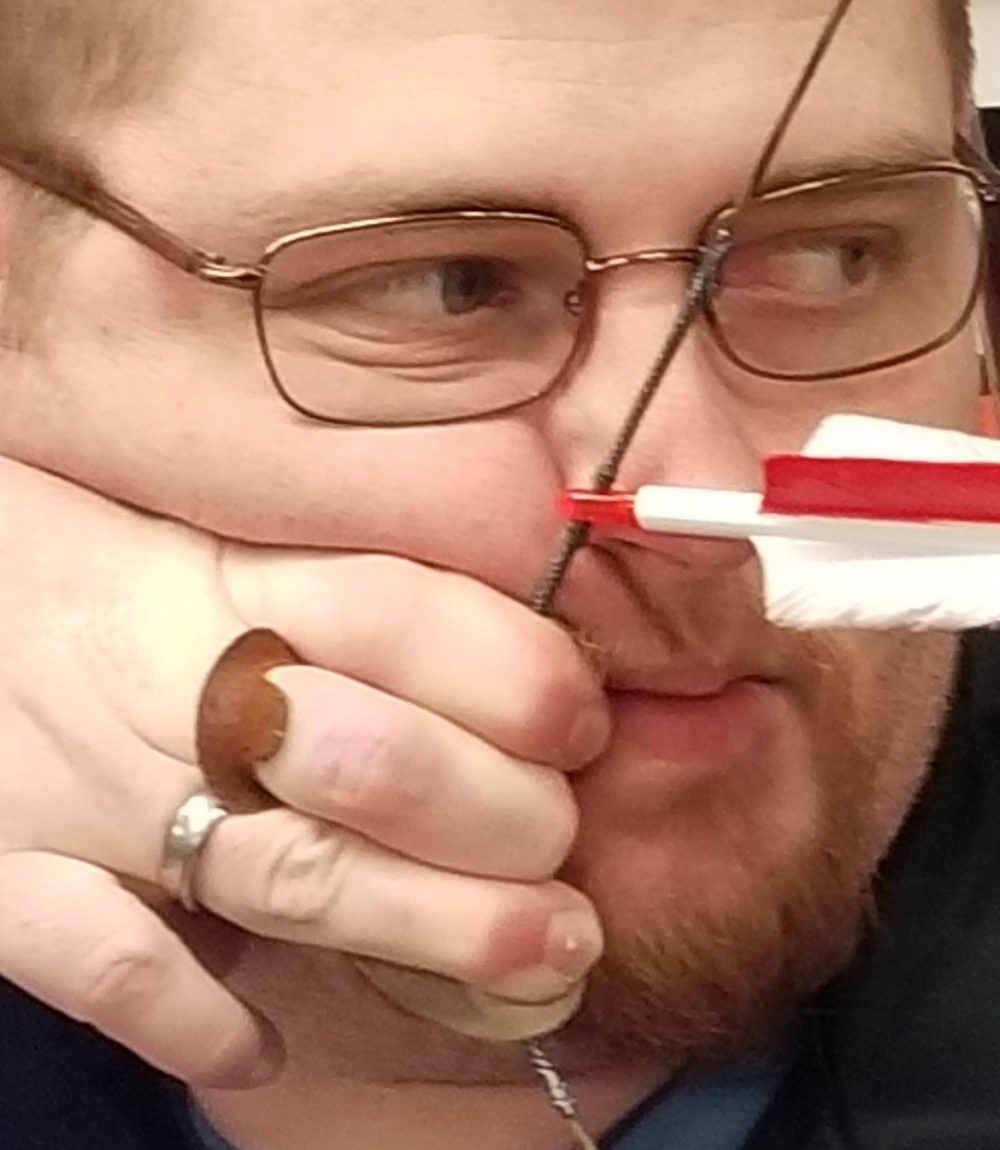
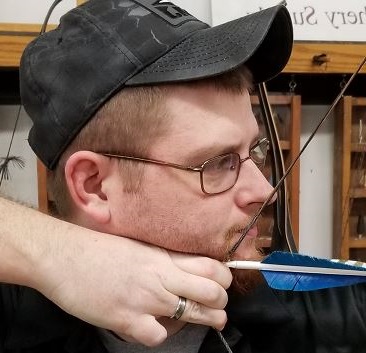
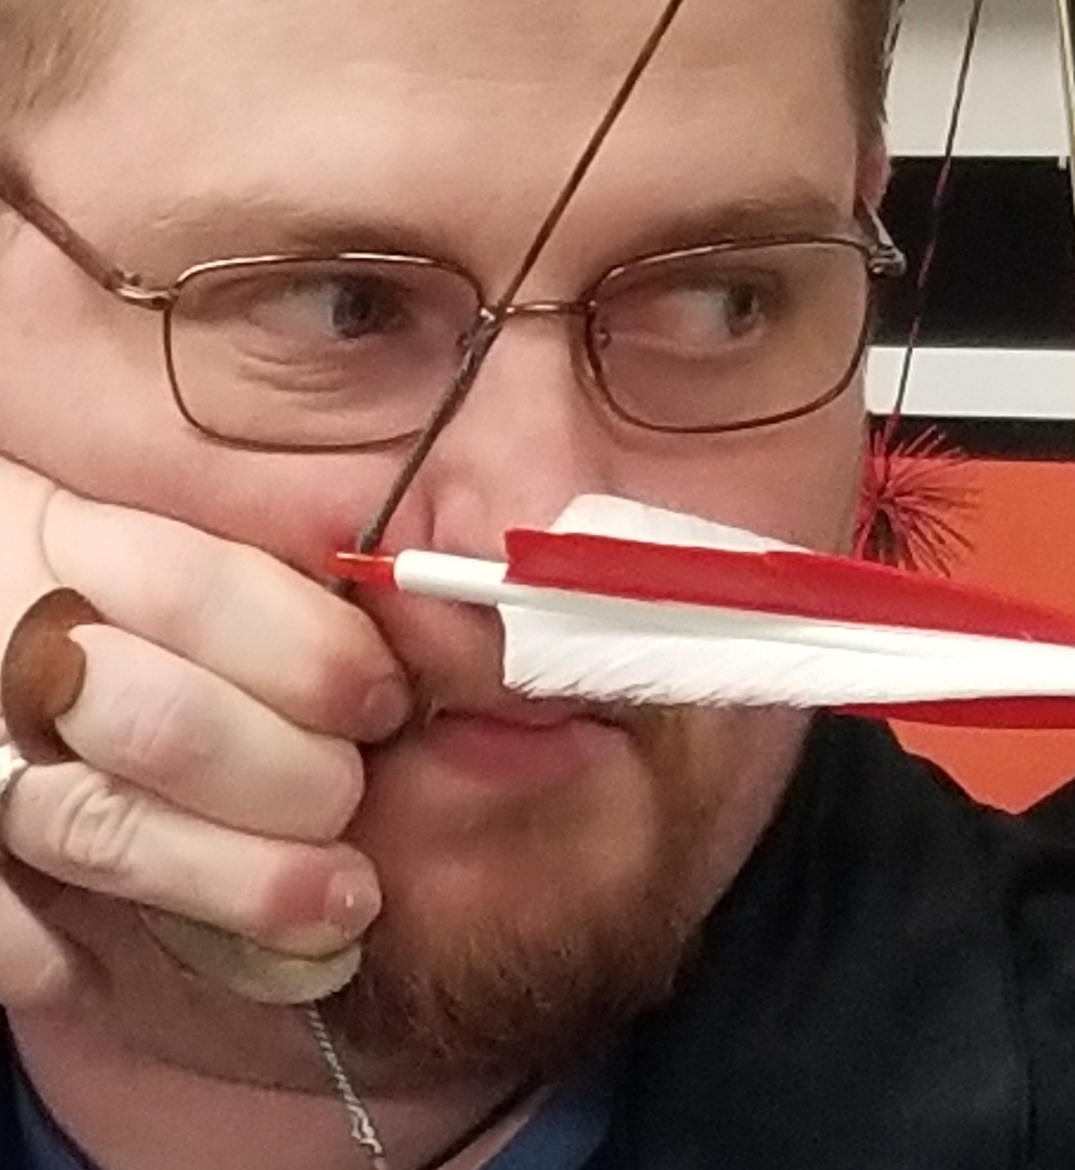
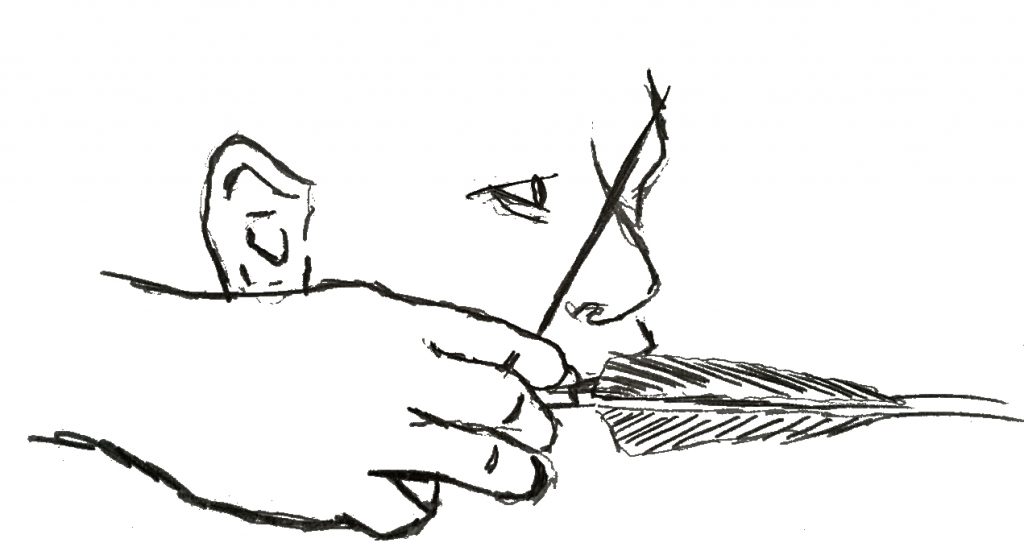 Anchor: The anchor point is a position of reference where the draw sequence ends at a specific location. There are many different versions of anchor points and what works best, but it comes down to personal preference. The most common is the side anchor, where the index finger is tucked into the corner of the mouth. The problem with this method is that the corner of the mouth is soft tissue that moves.
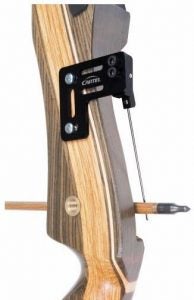

 Follow Through: The best way to describe follow through is to prevent any unnatural movements. After the release, the hand continues to the shoulder, but you want to prevent any unnecessary movements. It is so important not to move after the release. Most people will have a tendency to “peek” at the arrow to see where it hits. Preferably, you want to remain as still as possible. I always recommend that you wait until you hear the arrow hit before looking to see the results. Any bit of movement at the release can throw the arrow off course.
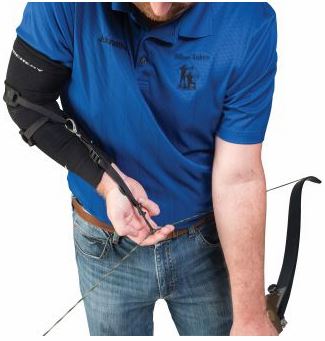 The
The