.jpg "Welcome to the 3Rivers Archer's Den")
The Basics of Shooting Traditional Longbows and Recurves
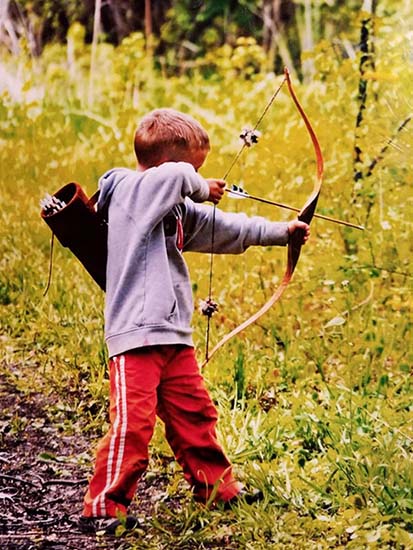
Trying to focus on the target, I could hear the voices in the background, some were encouraging, but the loudest were intended to rattle my nerves with the hope that I would miss the shot. We were shooting traditional bows and the stakes were high adding pressure to the shot. I did my best to concentrate and recall the shot sequence I had developed and practiced all summer. As I did, everything slowly disappeared, except for the aspirin sized target I was focusing upon. The string slipped from my fingers and in an instant the feathered shaft streaked towards the target.
People gravitate toward archery for different reasons, but many find traditional archery a relaxing and therapeutic sport since it’s one of the simplest forms of archery. While shooting traditional archery can be addicting, it can also be frustrating at the same time. If you have trouble hitting your target, the enjoyment you first had when picking up a bow can quickly turn to discouragement. However, learning the basic steps will put you on track to developing consistent accuracy.
Consistency sums up most everything in archery. There are many methods and variations all designed to make you a better archer. Just keep in mind the most important thing to remember, regardless of the style or method is to remain consistent shot after shot. Without consistency, it will be difficult to gain the precision needed to master the sport. Above all things in archery; stay consistent.
While there are books and videos dedicated to becoming more efficient, I’ve condensed it into seven basic steps. These steps are for starting purposes only. In time, you most likely will tweak and/or change as you feel necessary. Following these steps will get you started in the right direction when shooting traditional equipment.
Steps for Learning How to Shoot a Traditional Bow
Note: These steps are for a right handed shooter, a left hand shooter would mirror the process. Illustrations by D. Echterling
 Stance: Start by facing 90° to the target with your feet set and spaced shoulder width apart. Keep your head centered while standing upright and your weight evenly distributed. I prefer to open the stance by rotating the left foot slightly towards the target.
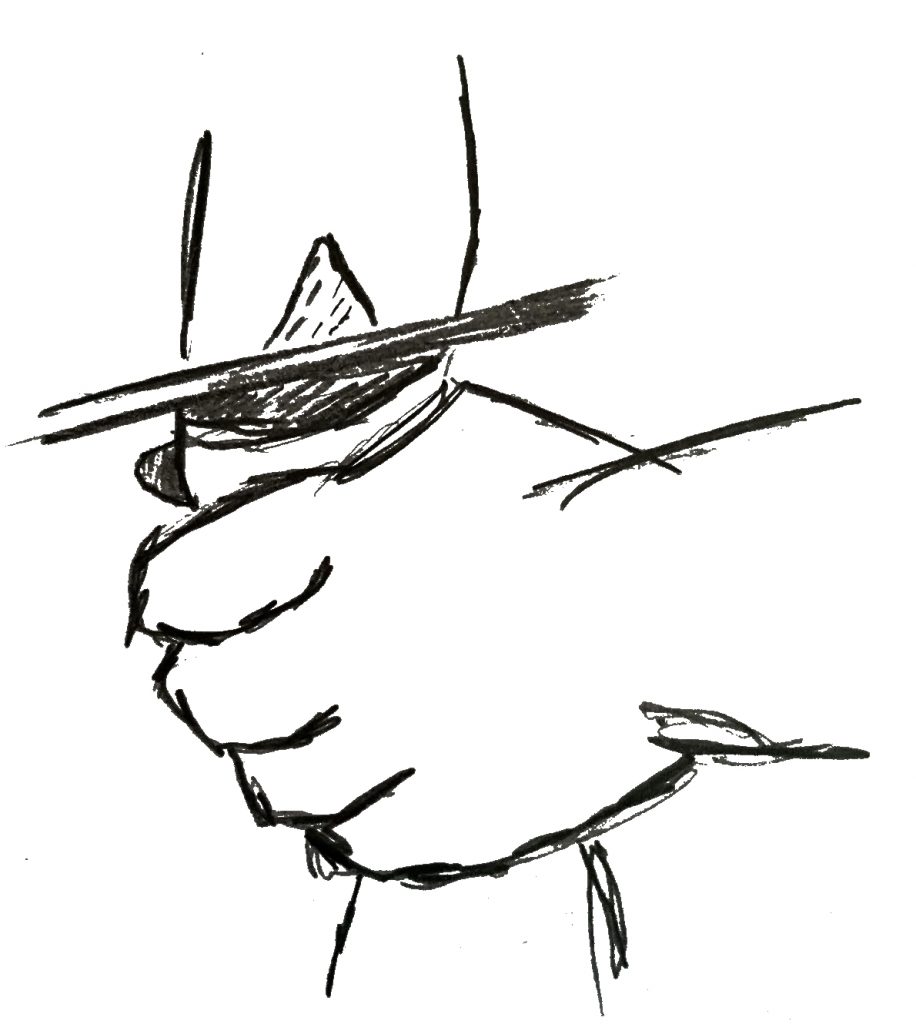 Grip: Hold the bow with your left hand by placing the dished part of the handle on the webbing that is between your thumb and index finger. Using a light grip, rest your palm, section right below your thumb, on the bow and lightly wrap your fingers around the handle. Keep your knuckles at an approximate 45°. You never want to grip the bow too tightly as this can cause torquing and throw off the shot.
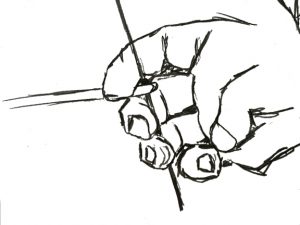 Nocking the Arrow and Finger Placement: Hold the bow in your left hand in front of you and approximately at waist level. With your right hand, hold the arrow about eight inches from the nock end. Rotate the shaft so that the cock feather is pointing out and away from the riser. Snap the throat of the nock on the string under the brass string nock locator. Position the three fingers of your shooting hand on the string with the index finger above the nock and the middle and ring fingers below the nock. Keep the fingers located on the string just in front of the first joint approximately 90° to the string.
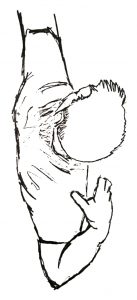
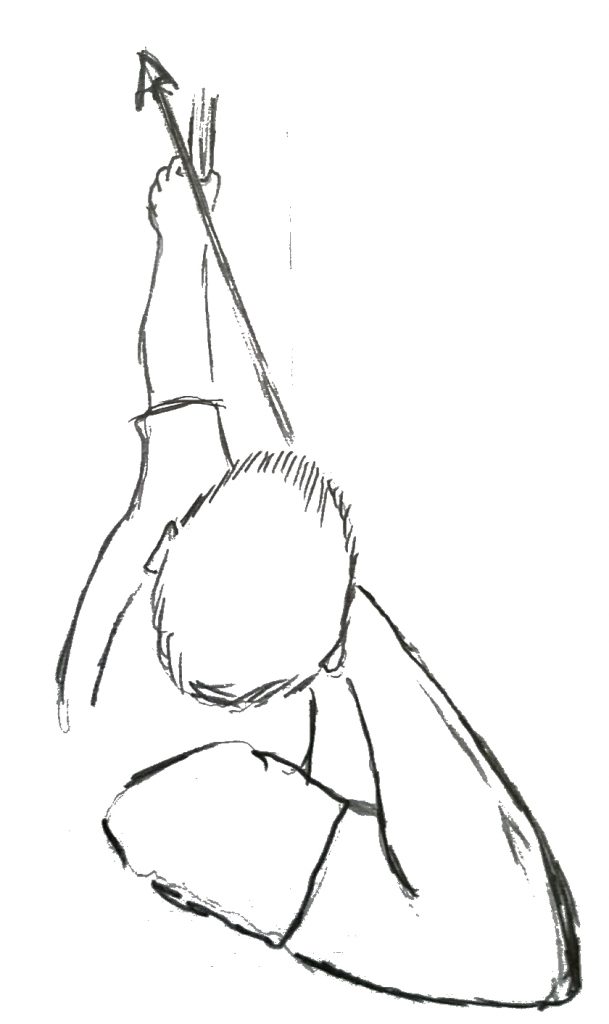 Draw Sequence: Raise the bow so that it is in a vertical location. Keep your bow arm elbow rotated so it’s pointing straight down during the draw sequence. With the drawing arm parallel to the arrow shaft and your head in an upright position begin the draw sequence. There are two thoughts on drawing, one is keeping everything in line while drawing back, and the other is the rotational draw. The rotational method uses more of the back muscles as the drawing arm and elbow rotates around while keeping the elbow more or less at the same height and is the recommended method. Keep light tension on the draw fingers to help prevent any torque during the shot.
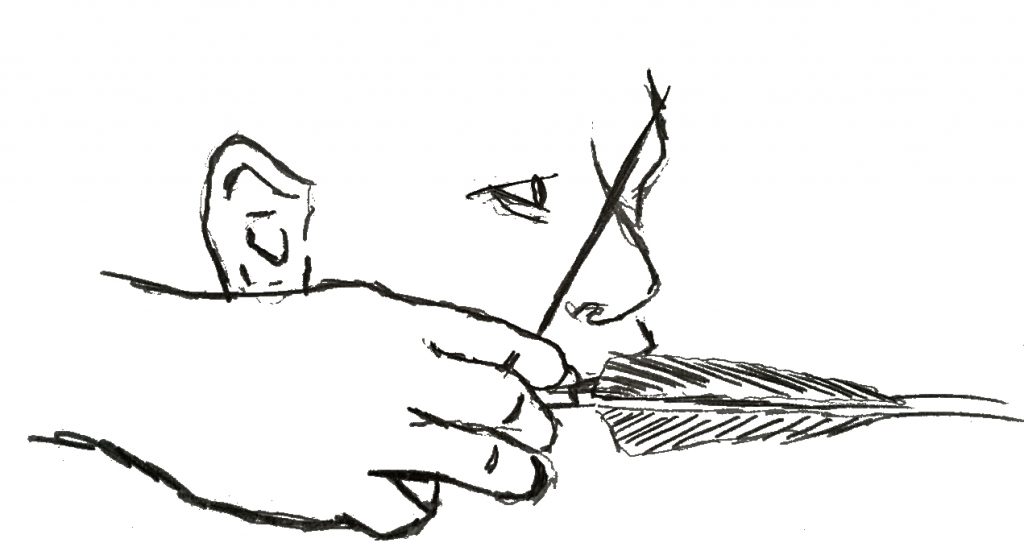 Anchor: The anchor point is a position of reference where the draw sequence ends at a specific location. There are many different versions of anchor points and what works best, but it comes down to personal preference. The most common is the side anchor, where the index finger is tucked into the corner of the mouth. The problem with this method is that the corner of the mouth is soft tissue that moves.
The best anchor is to have a minimum of two reference points (preferably hard bone) for repeatability. For example, use the ‘eye tooth’ (tooth right below the eye), then thumb base knuckle behind the jaw bone. This hard bone two point reference system gives the same sight picture every time. It can’t be over emphasize the importance of an exact point of reference. Being off by the smallest amount will have a drastic effect on where you hit the target.
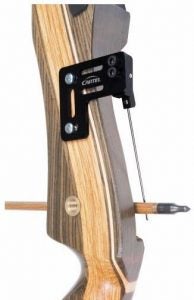

Some archers will also use the aid of a draw check device letting them know they have reached full draw. These devices are very useful and can help in many ways. One of the most common uses is to help overcome tragic panic.
Release: Once you have reached anchor, you want to focus on the spot you wish to hit by using your sighting method. There are many different sighting methods which will be explained in other articles coming soon. Whatever method you choose, you should only focus on the target for a couple of seconds, anymore and your concentration will probably be broken before releasing.
The release is probably the easiest of all steps to understand, yet probably the most difficult to master. Unfortunately, archers work a lifetime perfecting their release. Simply stated, the release means to relax the fingers to let go of the string, known as the ‘dead release’. Today, more shooters are using back tension and getting better results. This form of release is an action where you expand during the shot by pushing the elbow back further using back tension until the shot goes off. If you do this properly, the string merely rolls off the finger tips without any conscious effort and your hand continues back touching the shoulder.
 Follow Through: The best way to describe follow through is to prevent any unnatural movements. After the release, the hand continues to the shoulder, but you want to prevent any unnecessary movements. It is so important not to move after the release. Most people will have a tendency to “peek” at the arrow to see where it hits. Preferably, you want to remain as still as possible. I always recommend that you wait until you hear the arrow hit before looking to see the results. Any bit of movement at the release can throw the arrow off course.
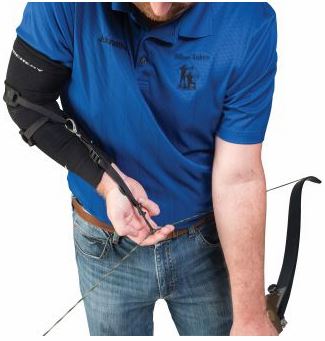 The Shot Trainer is a great device that helps you maintain proper form and release with or without an arrow.
There you have it, seven steps to get you started shooting traditional archery. The most important thing is to practice and then practice some more. Keep these seven steps in mind and work on them individually while practicing. In our follow up series, we will get more in depth about the different shooting styles, like Instinctive, Gap Shooting, String Walking, Fixed Crawl, and many others. Oh… and about that bet at the beginning, that was back when I was a young teenager and the bet was between me and one of my buddies. I made the shot and he still owes me a Pepsi today…
By: Sam Strong